Upcycle Jeans – Sew DIY Denim Doll Skirt Out of Repurposed Jeans Leg
ByAlyLast updated:
This post may contain affiliate links, which means I’ll receive a commission if you purchase through my links, at no extra cost to you. Please read full disclosure for more information.
So I gained a little extra weight after having my daughter, and I’ve come to terms with the the fact that my previous size 2 self may never again be a physical possibility. Thus, all my pre-pregnancy jeans that have been taunting me for the last 2 years need a new home or a new use. I donated several of the better condition ones, but I kept several pair to use for sewing and crafting purposes also! I love repurposing and reusing old items. Here’s a project to upcycle jeans.
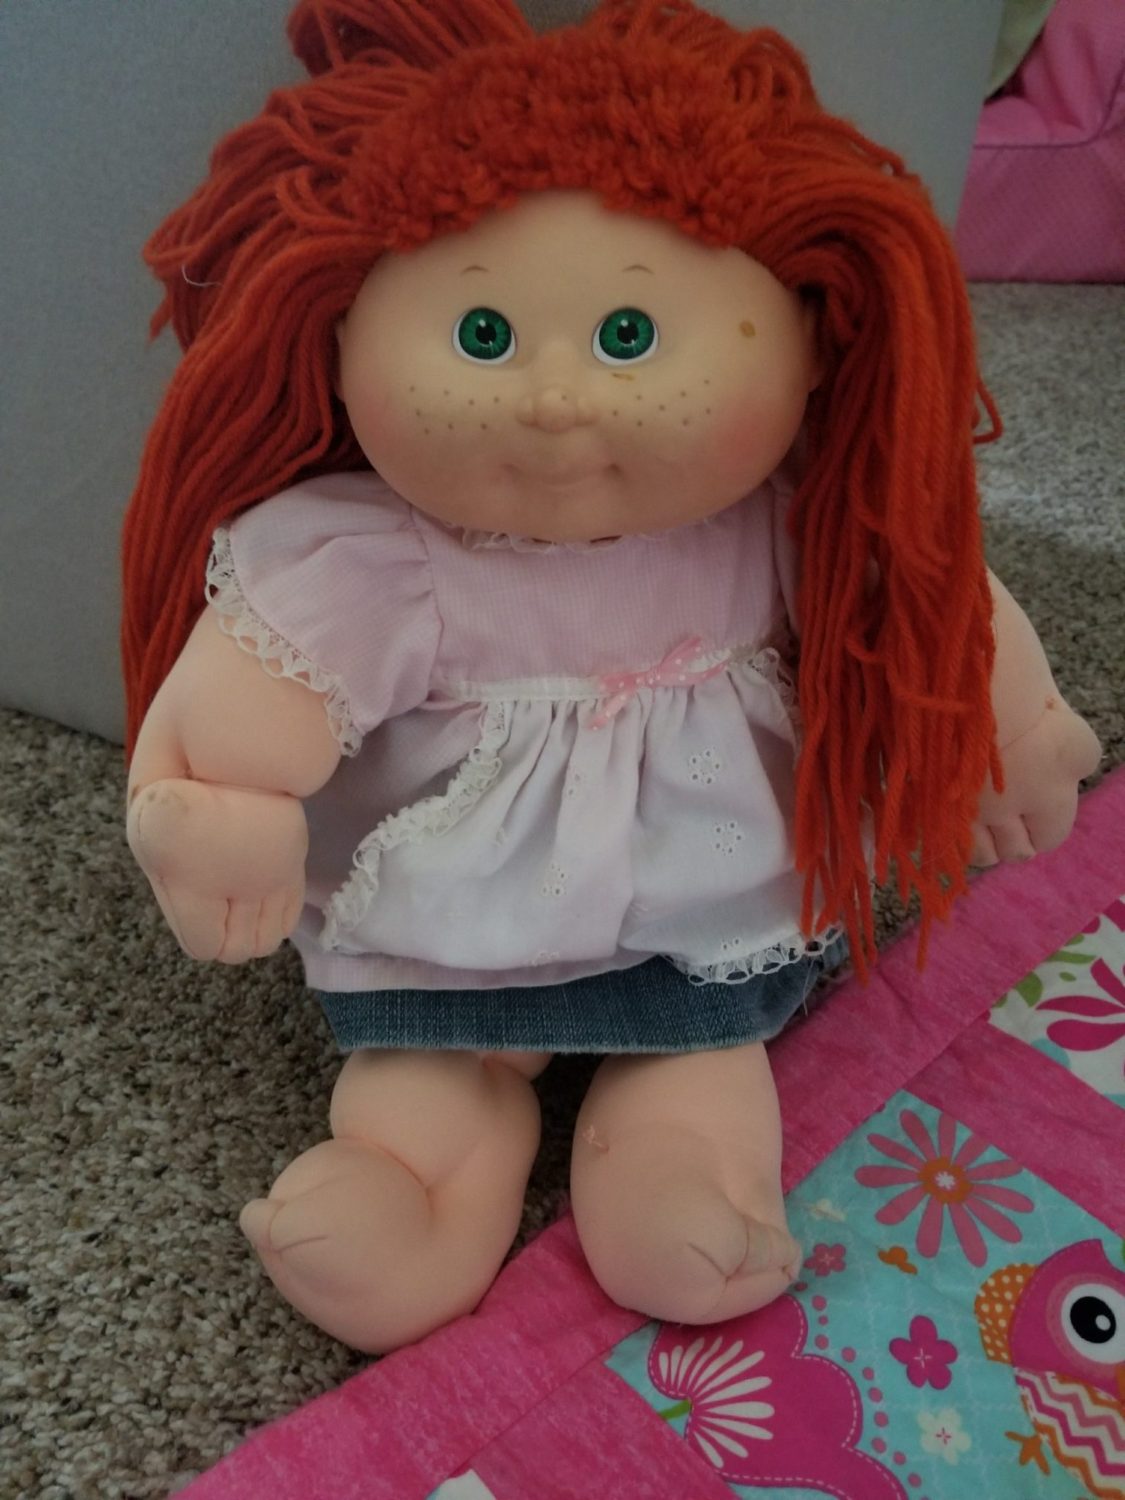
My first project was to sew a skirt for my daughter’s Cabbage Patch doll using one of the jean’s legs. I am in no way a seamstress, and I honestly don’t have the patience or time for precision sewing. So projects that I take on are usually easy and don’t require a lot of precision. Or ironing. Or pinning really. See, no patience over here!
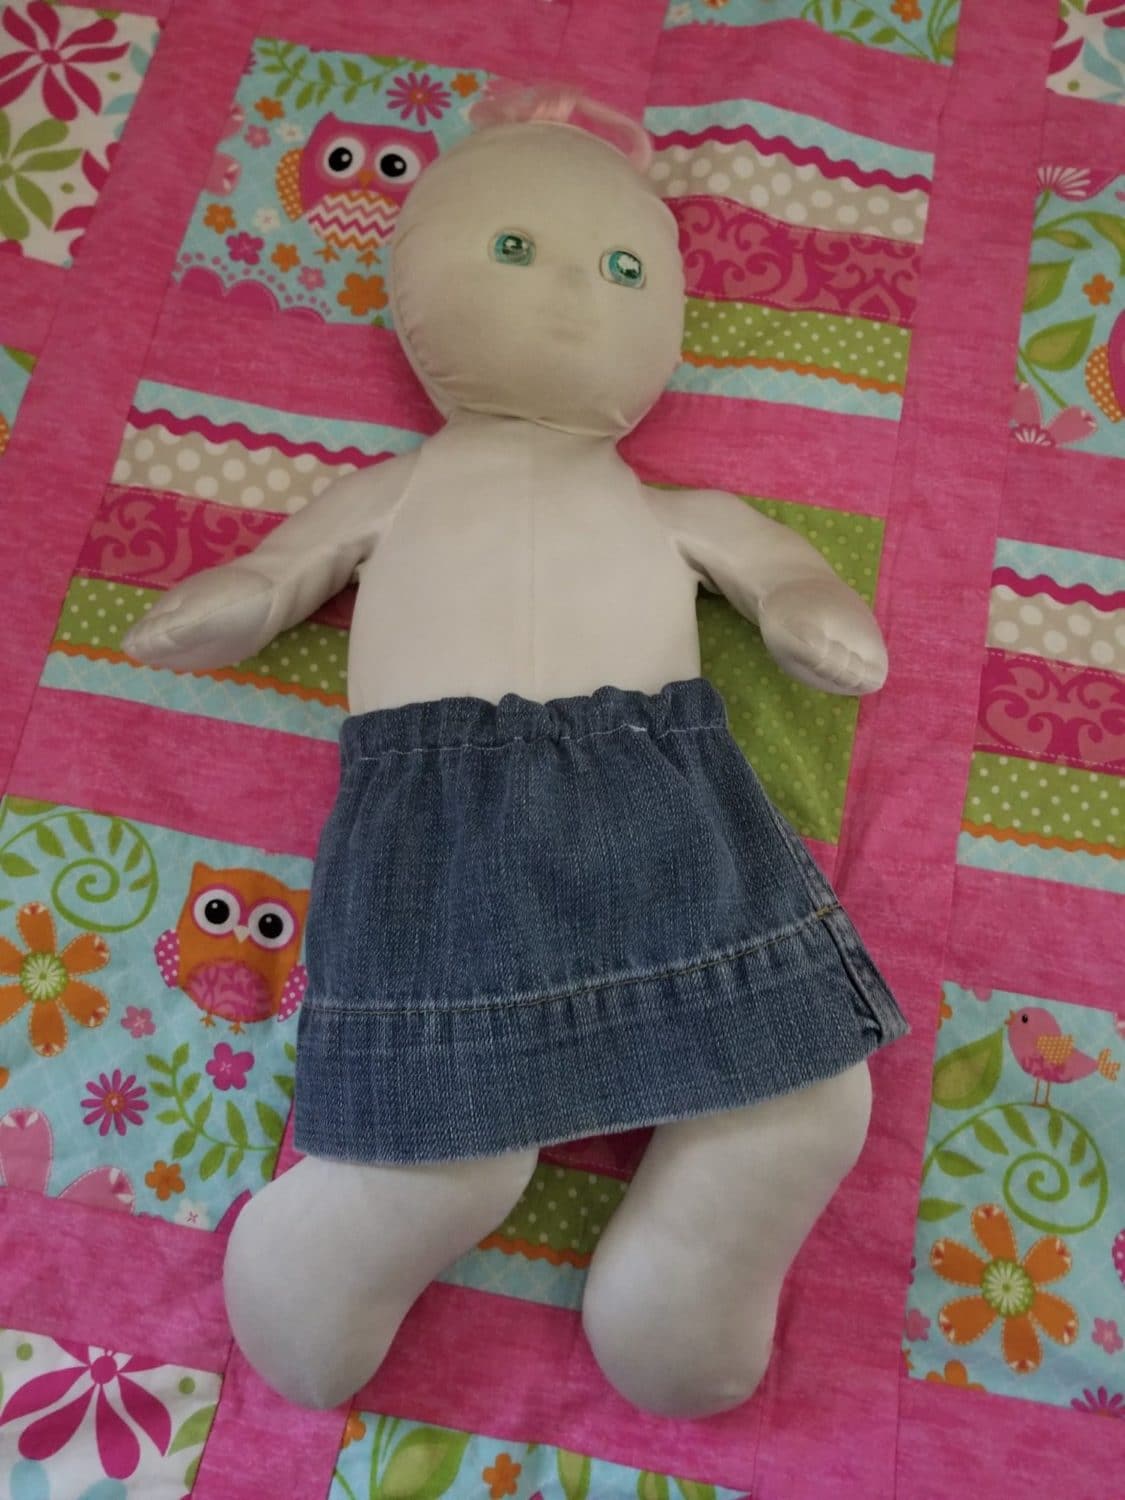
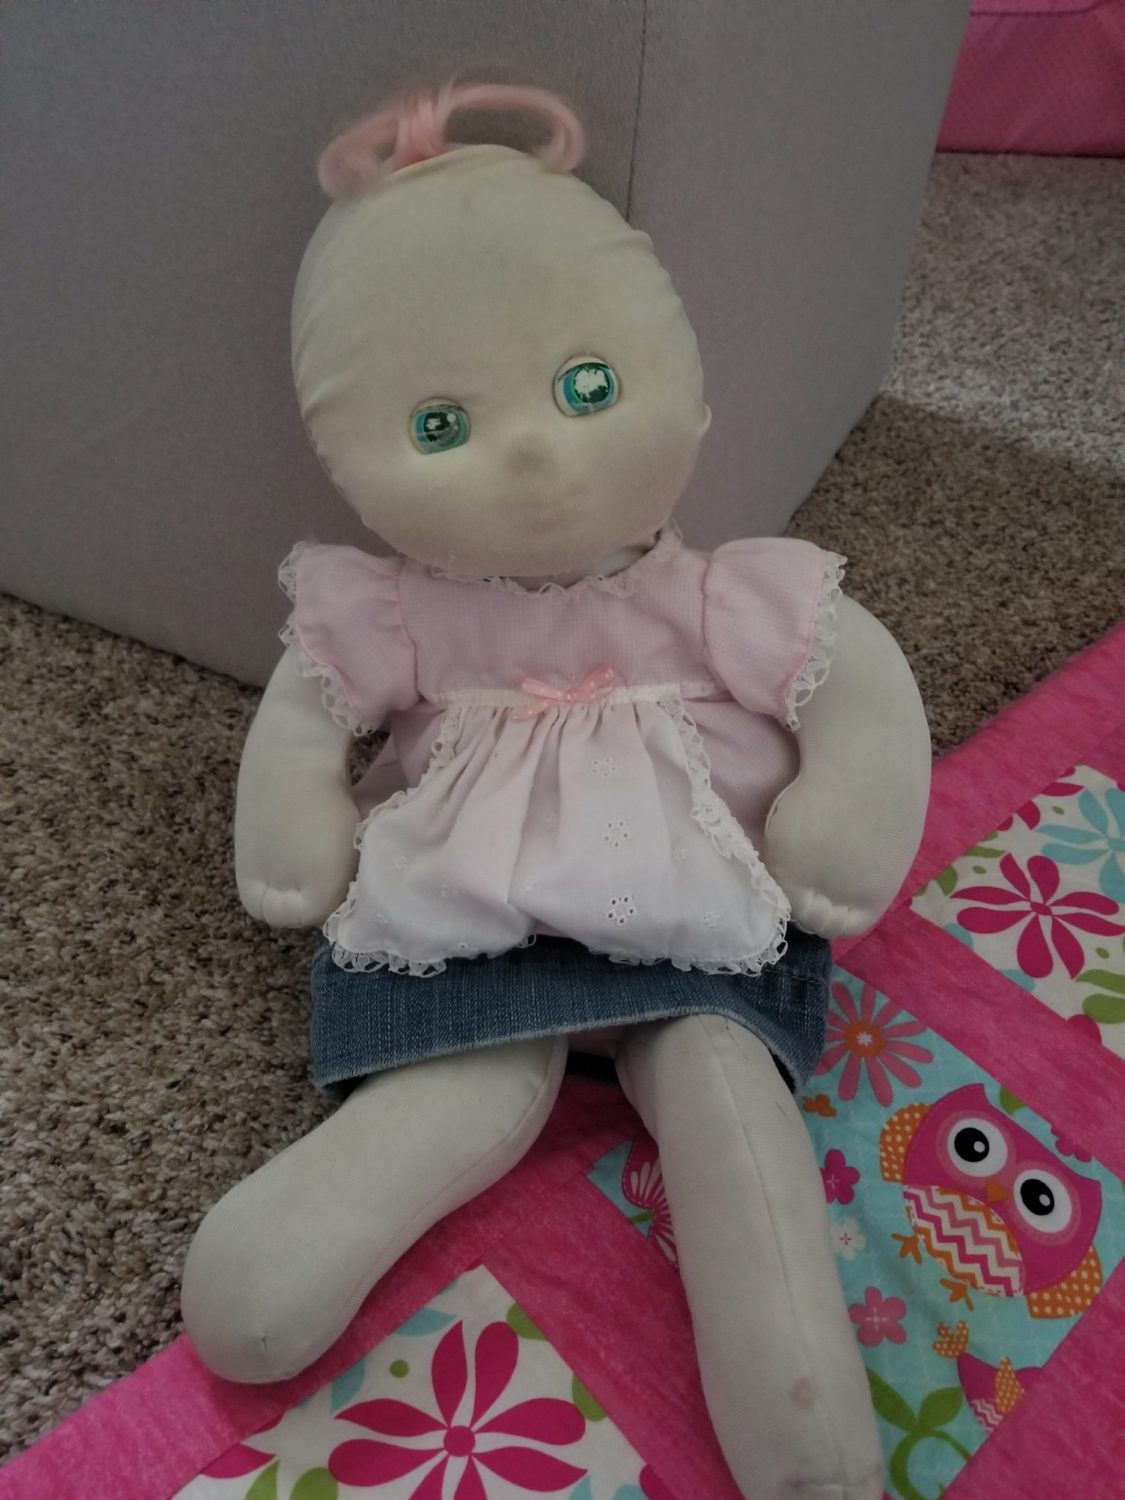
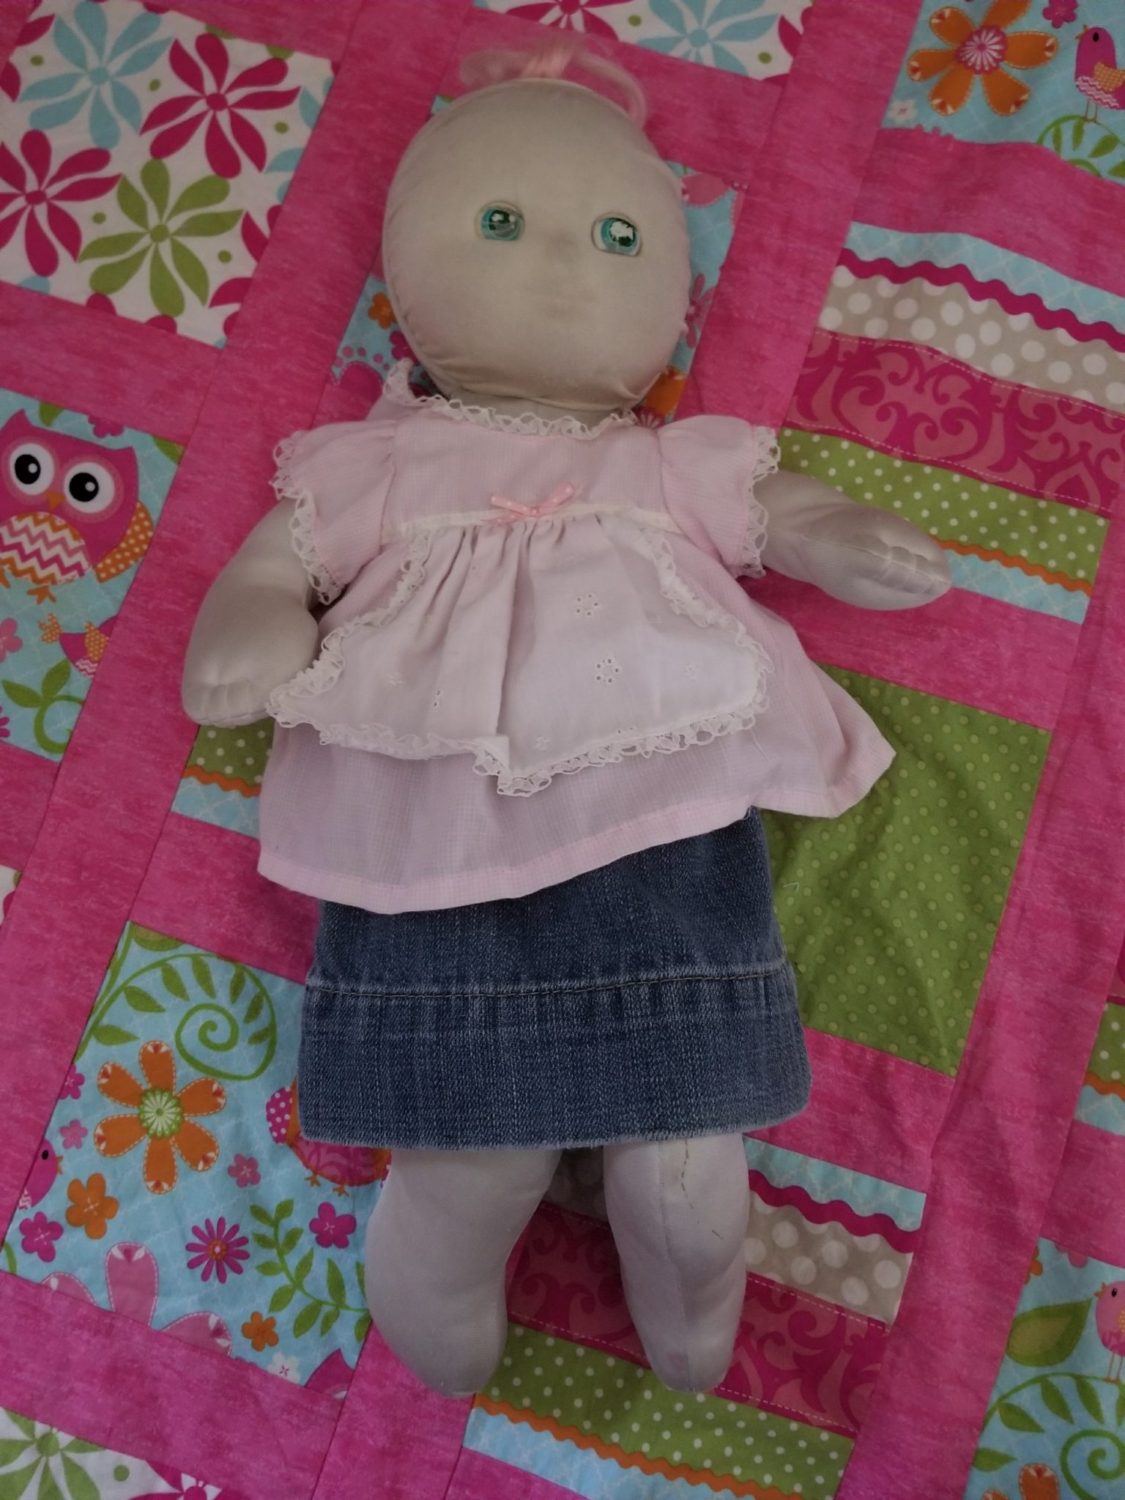
This project was super easy because the bottom half of the skirt was already sewn. Here’s the finished product modeled by my daughter’s Cabbage Patch doll, Wendy. And then modeled by my old childhood doll, Pinkie!
And here’s how upcycle jeans to make this DIY doll skirt
First, pick out a satisfactory pair of jeans to use. Some things to note here:
If your doll is wide around the middle and your pant leg is small, you’re not going to have as good of results as if your pant leg is wide and your doll’s waist circumference small. So pick accordingly depending on how much stretch you are going to want in the skirt. Reusing skinny jeans with skinny ankles probably won’t work for this project. A good wide boot cut or mild flare leg is perfect! In this specific instance, it turned out I had around 1.5 times as much jean fabric as I did elastic needed for the doll’s waist. So for instance, if the doll’s waist needed a 12 inch piece of elastic, then I used a 9 inch wide pant leg which was an 18 inch circumference.
It’s better to have a pair of jeans with the bottom seams intact. The beauty of this project is that the bottom seam of the skirt is already sewn because you can use the bottom of the pant leg! Score for time-saving!
The Sewing and Measuring Parts:
Next, determine how long you are going to want the skirt to be. (I figured slightly below the knee would be good for Wendy as she has a few other “fashionable” outfits of that length. She also wears her outfits right at the waist.)
Measure up from the bottom of the jean leg that length amount and add about 3/4″. The extra will be used make the casing for the elastic waistband. If you have thicker elastic than I used (1/4″), you may want to measure more than 3/4″ to allow for a larger casing. Cut the jean leg off at that calculated measurement.
You will then have to figure out the length you will need your elastic to be . I did this by semi-tightly wrapping the elastic around the doll and determining how long it would need to be to have the appropriate amount of stretch to stay put. I used 1/4″ width elastic, but I think a thicker elastic may have worked better. This was what I had on hand at the time though, so that’s what the skirt waistband was made out of.
Next, sew the casing. I could write out how to do this, but searching for another online tutorial is so much better at showing how to make a waistband casing! It also shows how to add the elastic in at the end.
Last Minute Touches:
Feel free to add embellishments or buttons or whatever you prefer to customize the skirt! And that’s that. How easy and simple is that? And now the doll has a great new skirt! I’m considering sewing my daughter a matching one by putting two pants legs together. Just haven’t gotten around to it yet though.
Like reusing old clothes? Check out these ways to reuse old white t-shirts: dog toys, toddler tissues, and toddler toilet paper! Interested in crafting? Check out some of our latest crafts here.