This post may contain affiliate links, which means I’ll receive a commission if you purchase through my links, at no extra cost to you. Please read full disclosure for more information.
I really racked my brain for what to give my daughter’s preschool teachers as a thank you for putting up with my tiny dictator this year. She has four teachers, so I didn’t want to spend an arm and a leg on a gift–that adds up quickly! I wanted something thoughtful though to go along with the flowers I also got each of them.
I decided to make fun end of year DIY fabric bookmarks! This is a perfect gift because it doesn’t take forever to make, and it can be made from scrap fabric. Thus, it’s a really inexpensive gift idea for preschool teachers. While I use my sewing machine, you can sew by hand as well if you prefer.
This fabric bookmark tutorial will have you making your own in no time. There are a lot of different ways you can customize your own bookmarks. You can use rickrack or ribbon on the top. You can stitch it on, or you can even use a grommet or eyelet. The sizing is also up to you!
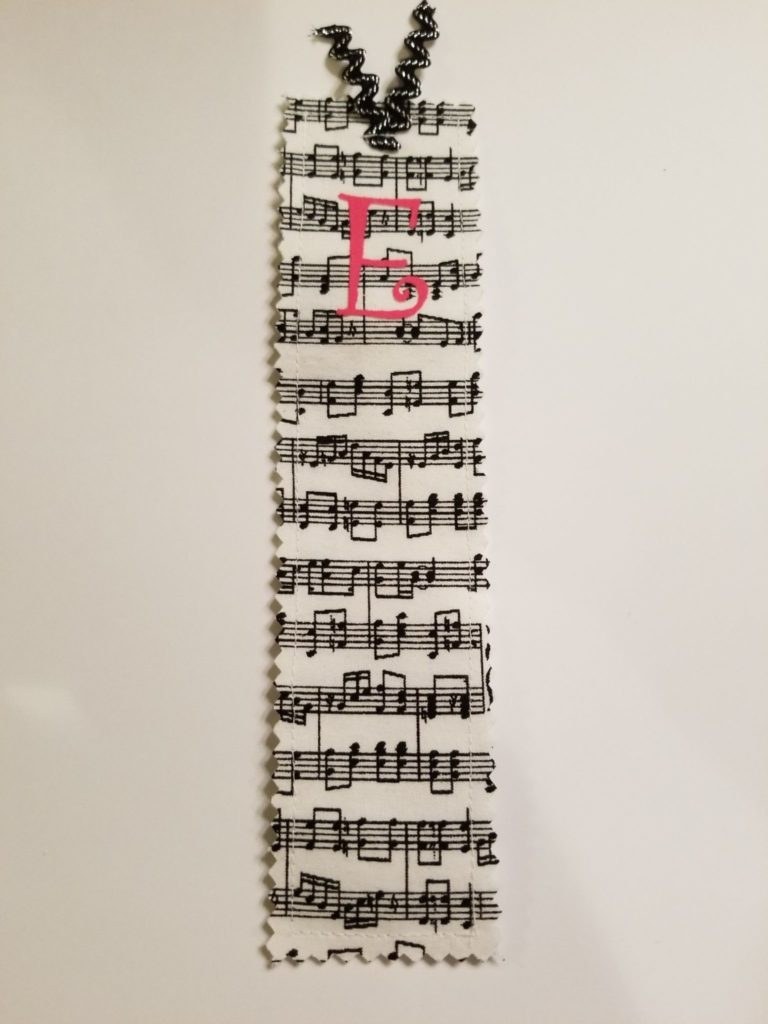
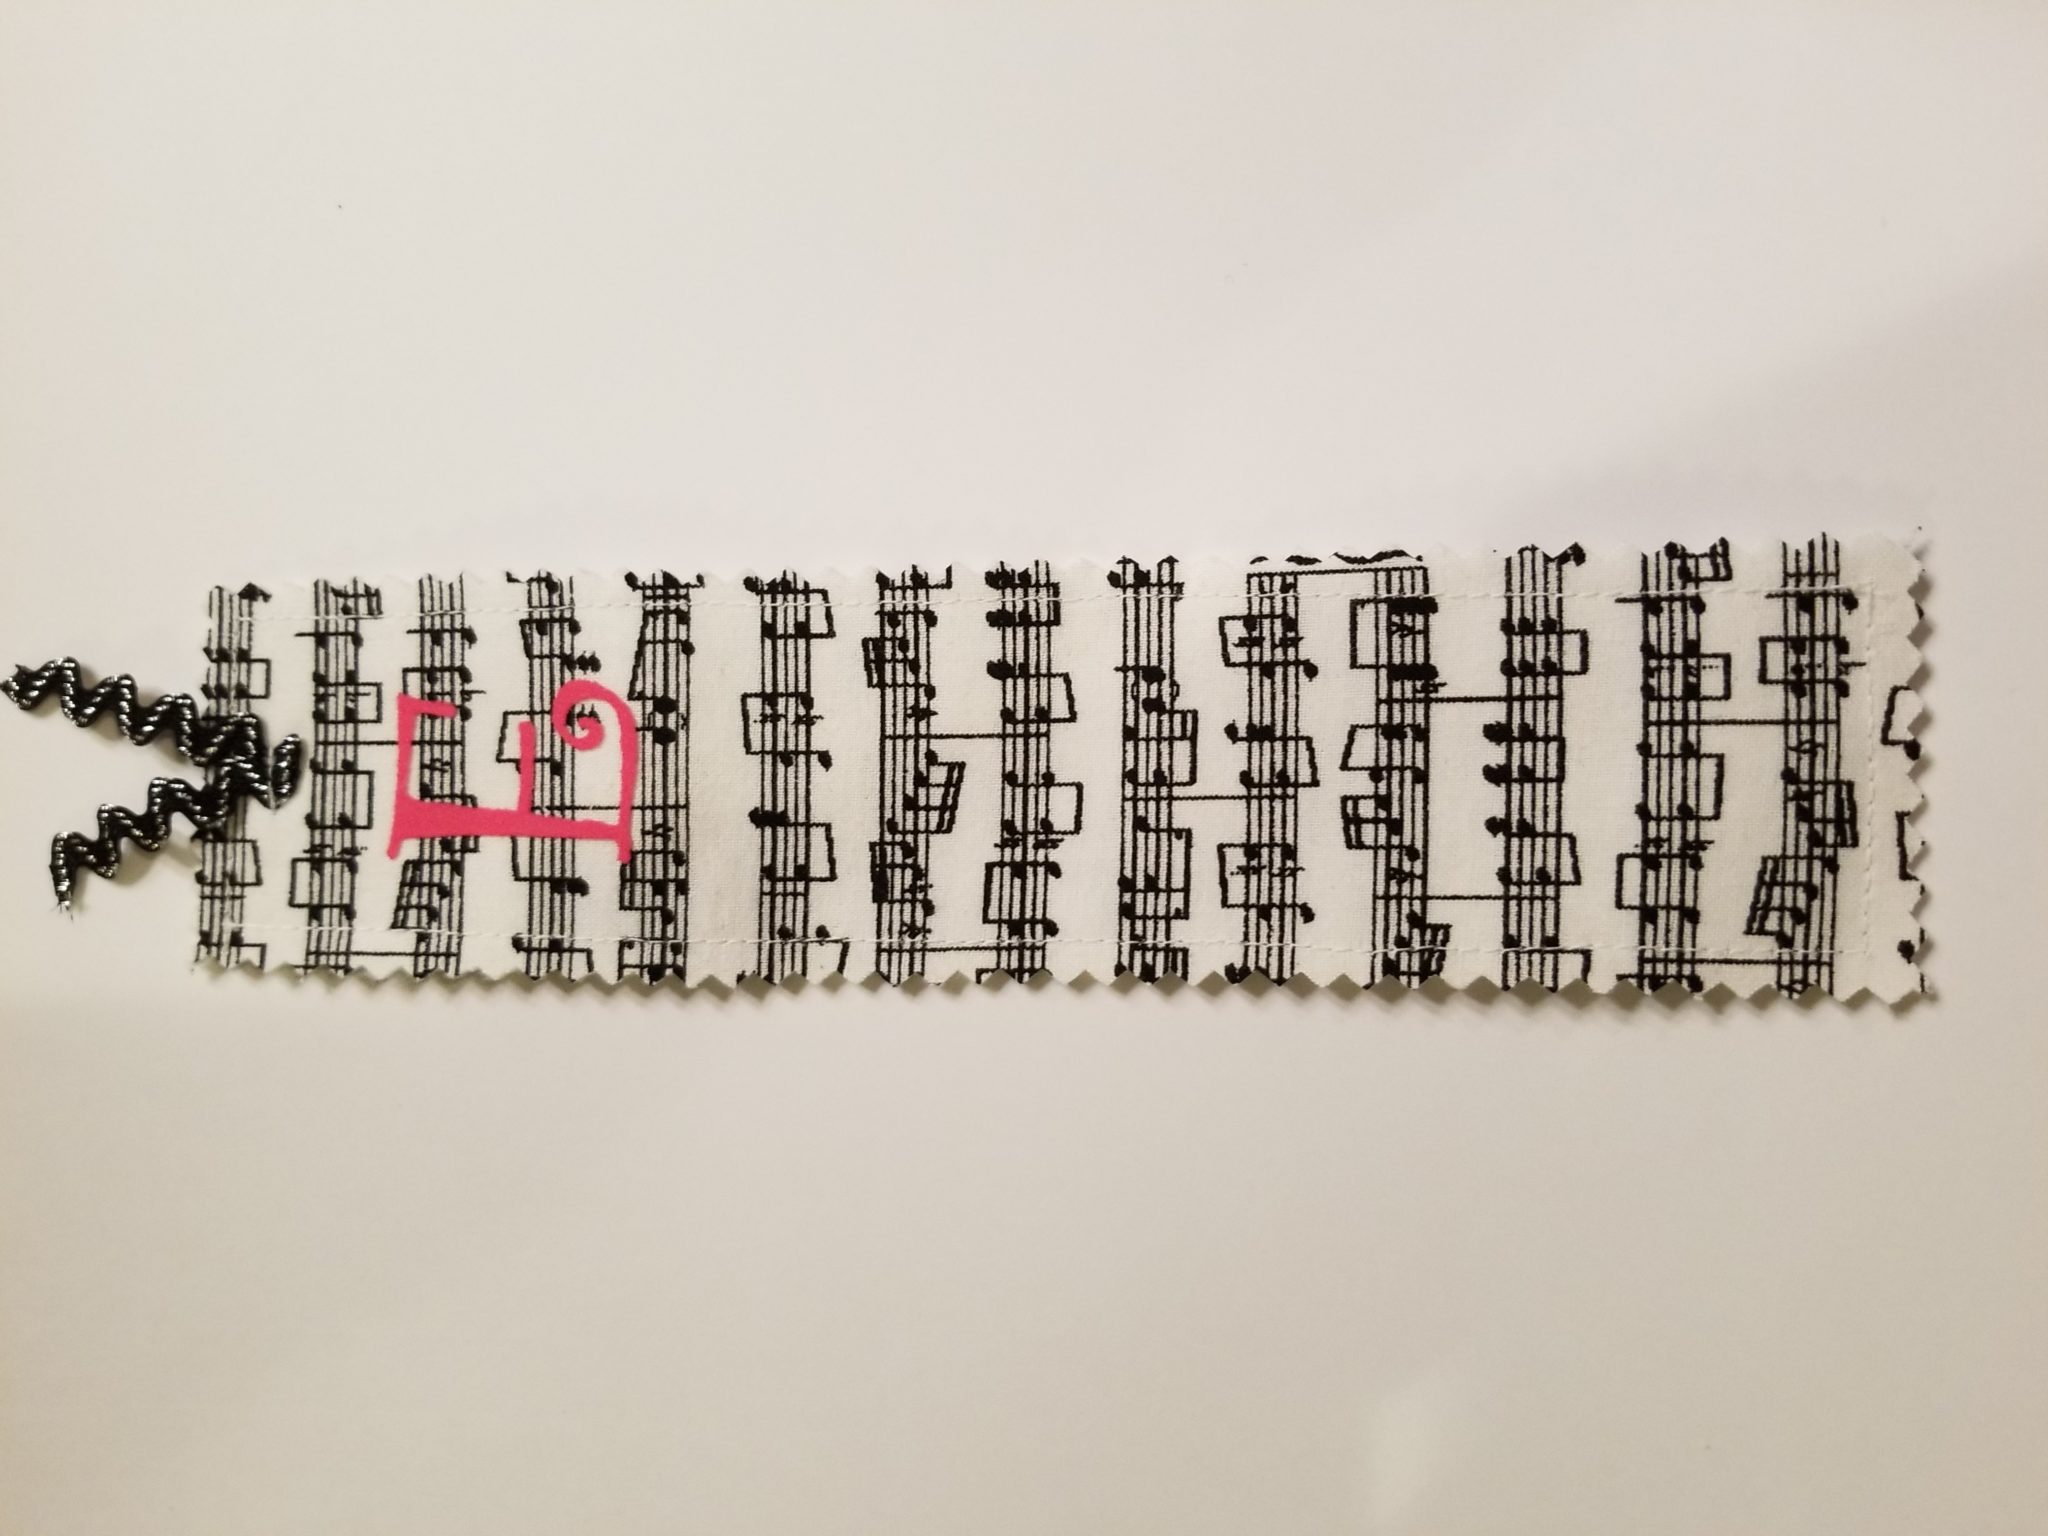
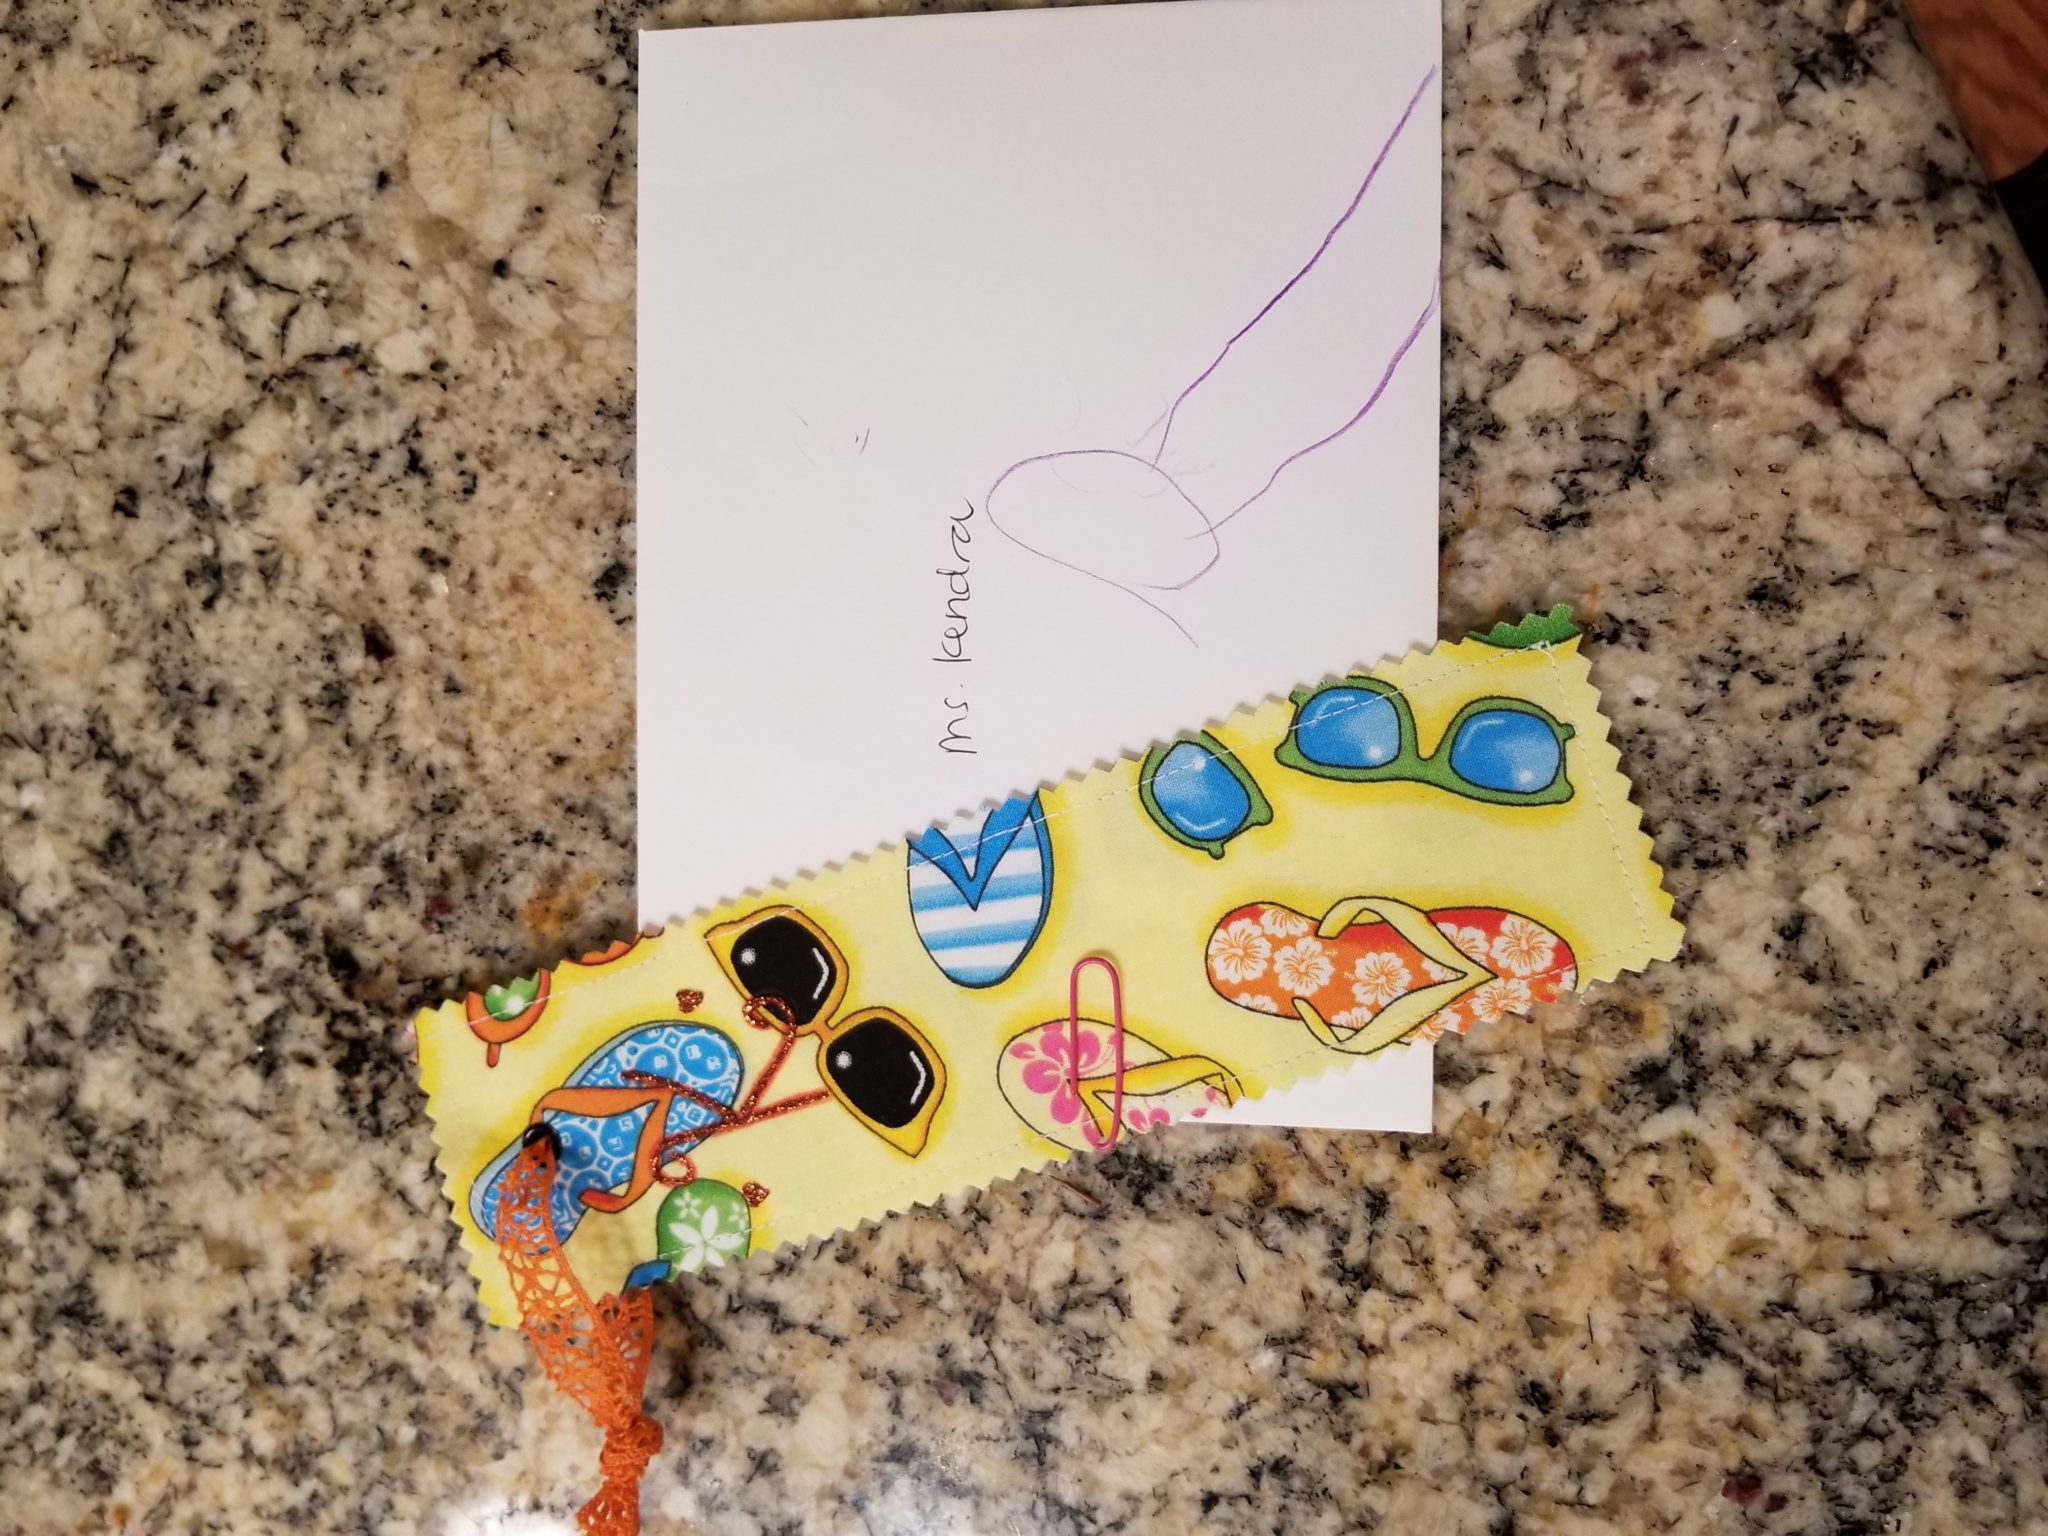
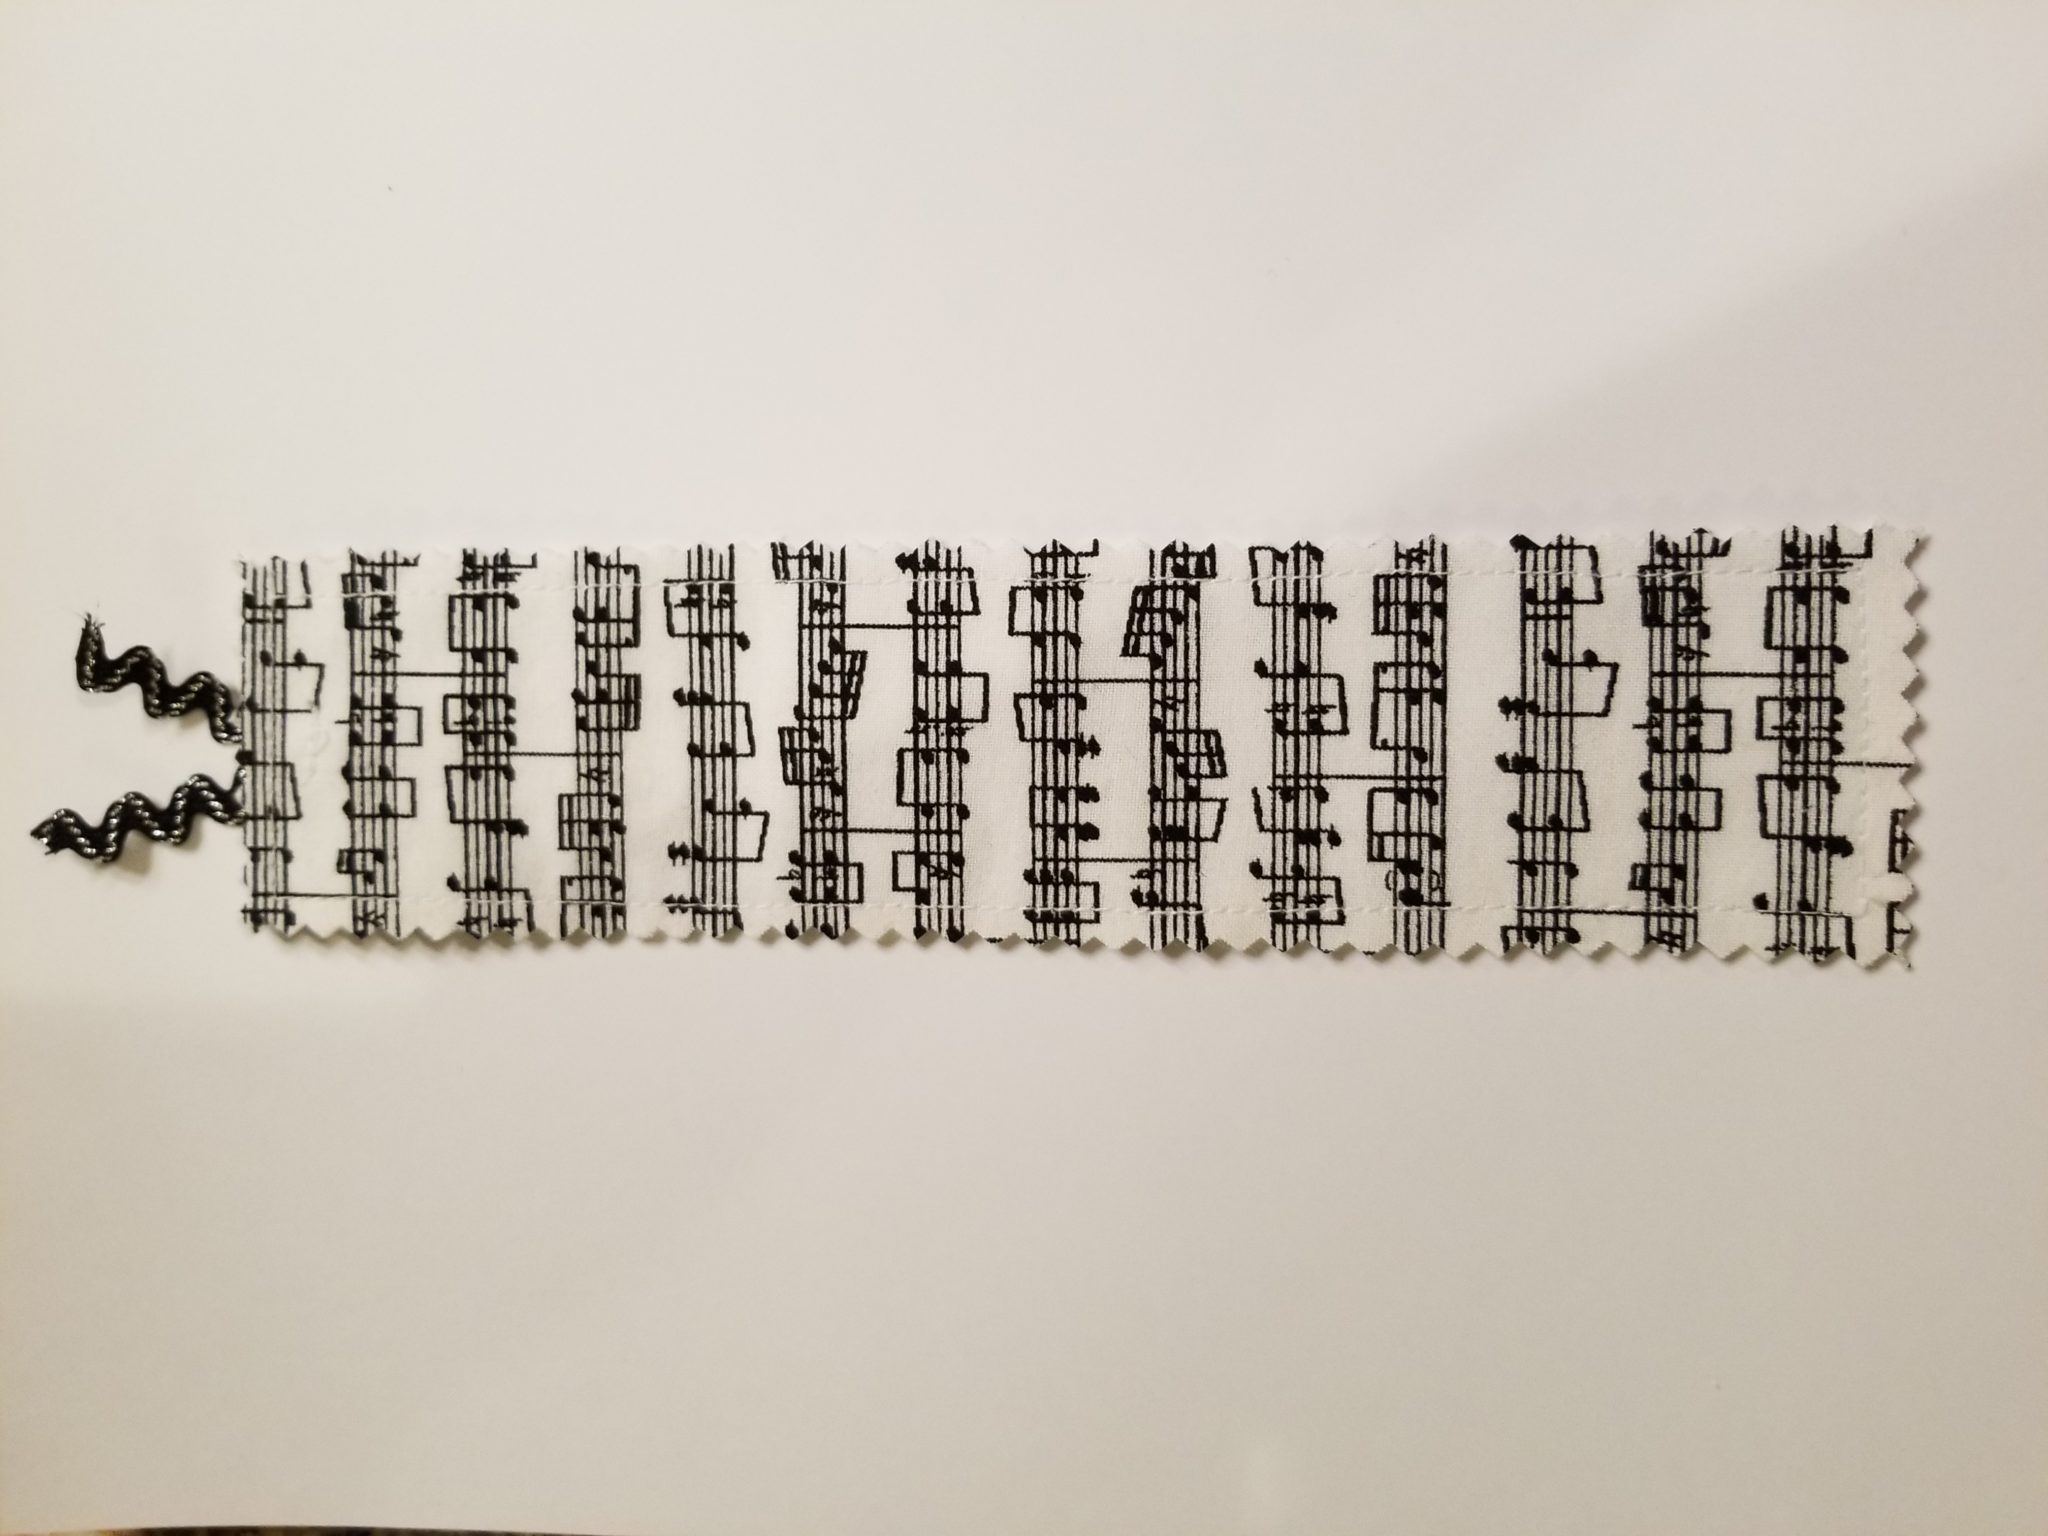
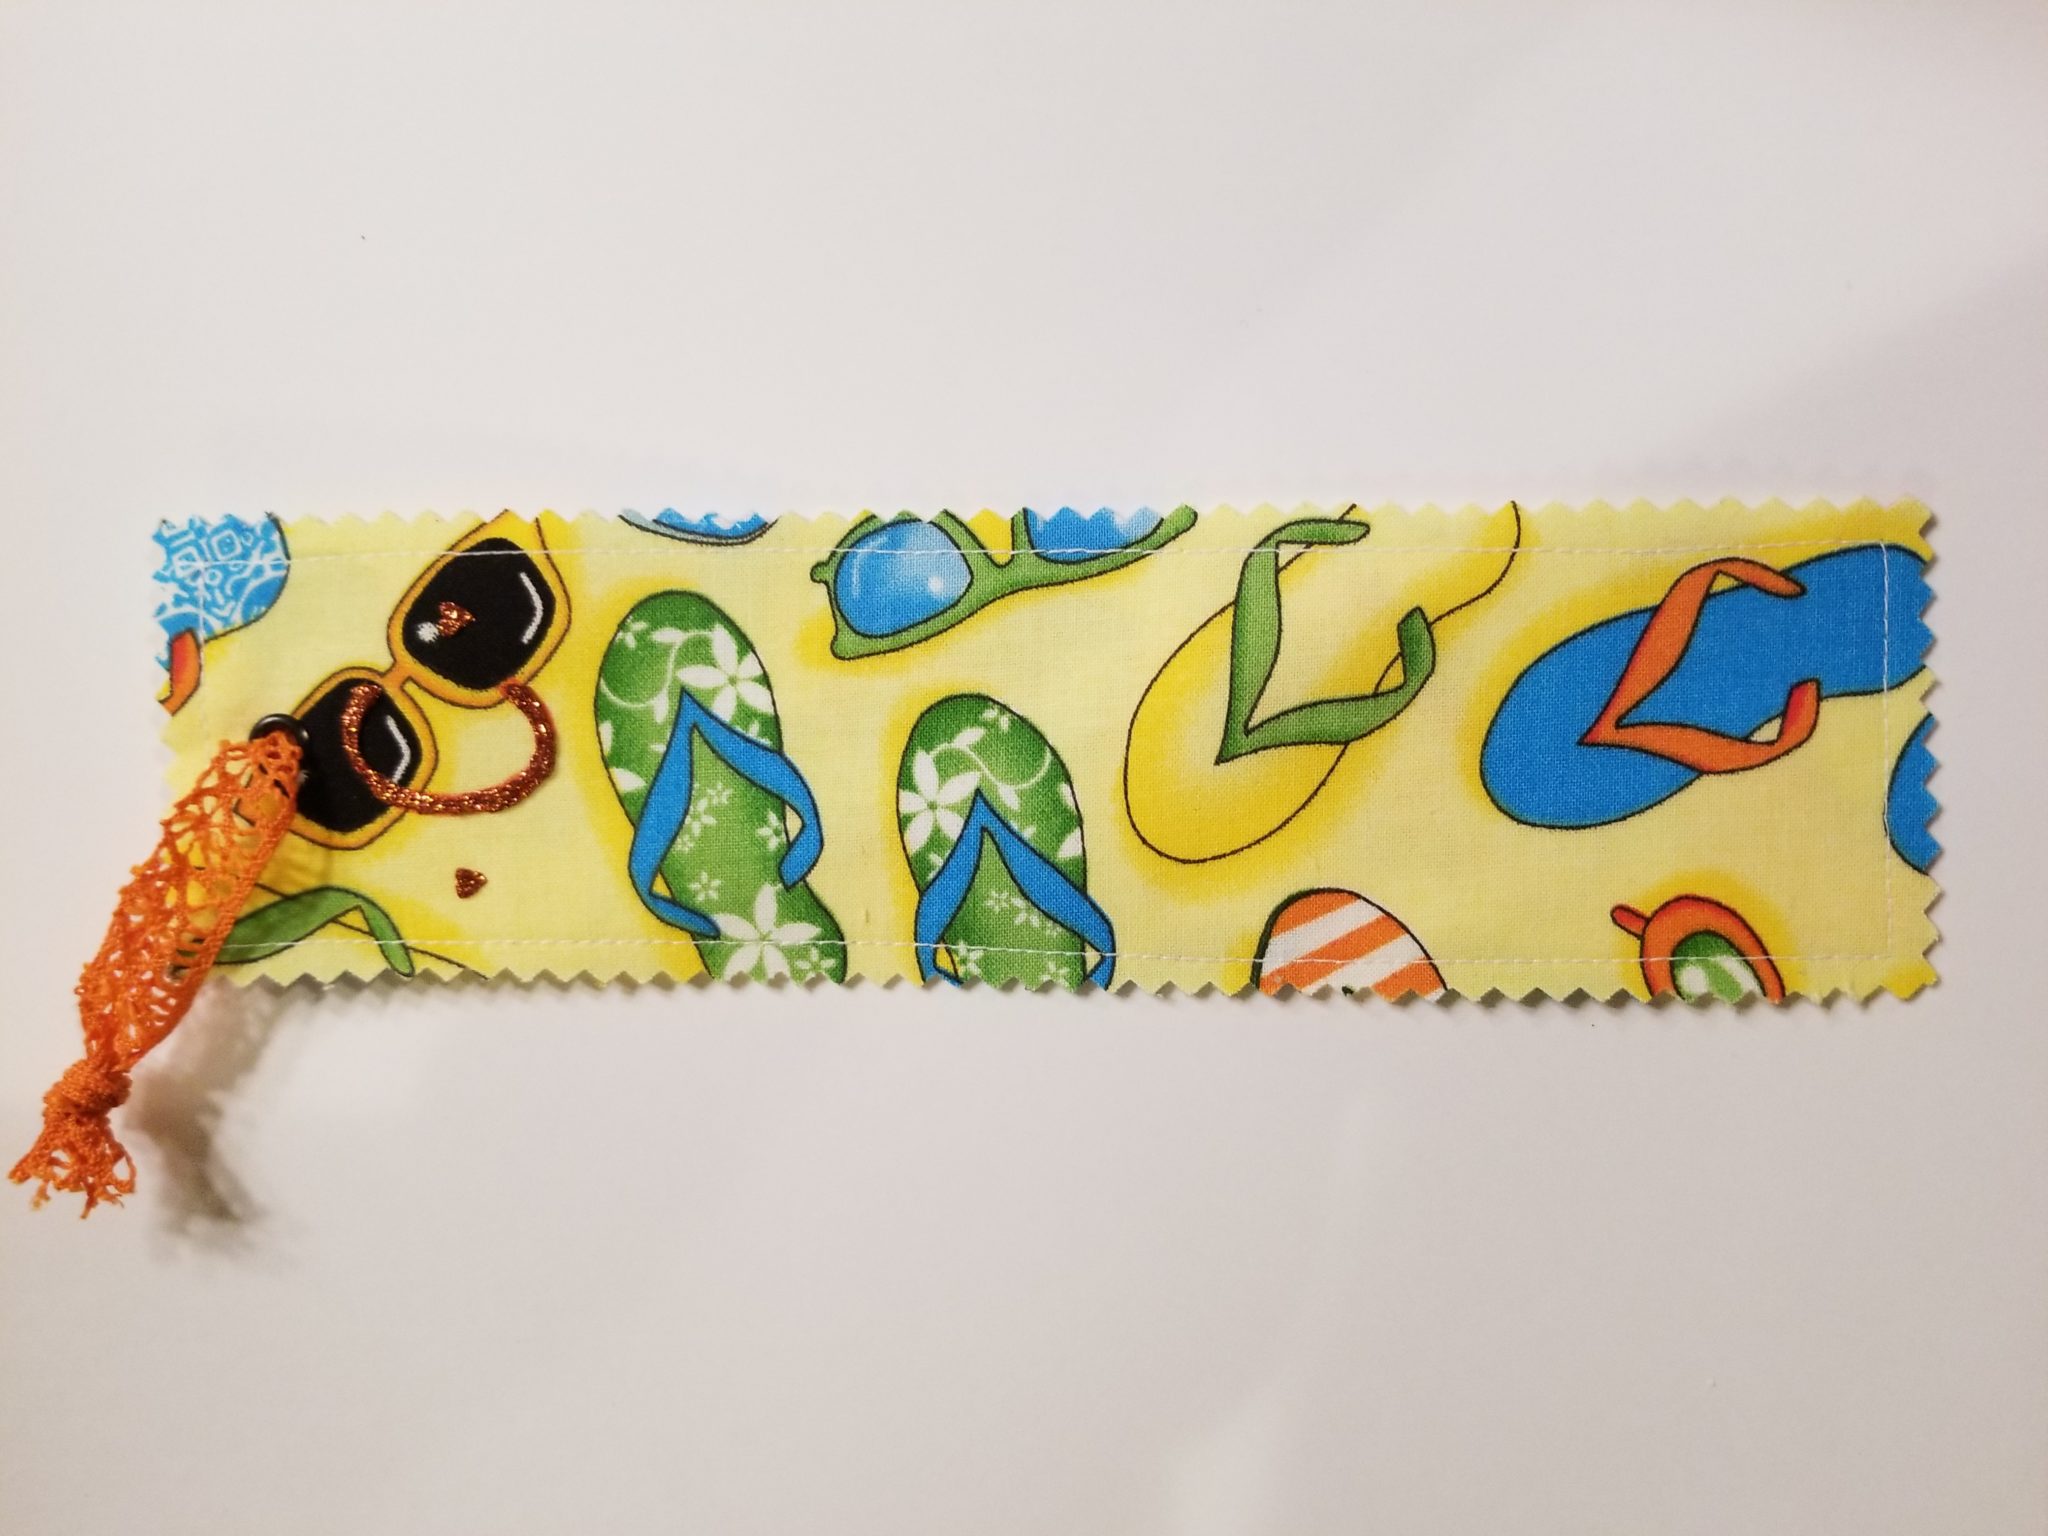
But first, here are the finished fabric bookmarks! The first bookmark is obviously for her music teacher, and the other one is for one of her two main teachers.
DIY Fabric Bookmark Tutorial
First, gather everything you’ll need to craft the bookmarks
Bookmark Making Supplies
Fabric scraps, prewashed and ironed
Very thick interfacing
Sewing machine and thread or needle and thread
Iron, scissors, and something to measure with
Few inches of ribbon or rickrack
Small grommet (optional)
How to Make Fabric Bookmarks
First, you have to decide what size bookmark you want. My bookmarks ultimately ended up being around 2.5″ wide and 9″ tall, but you can choose what size works best for you. There was a bit of variation between each of my bookmarks’ sizes. Mostly because I eyed it rather than measuring them perfectly. I love how forgiving making these DIY fabric bookmarks can be!
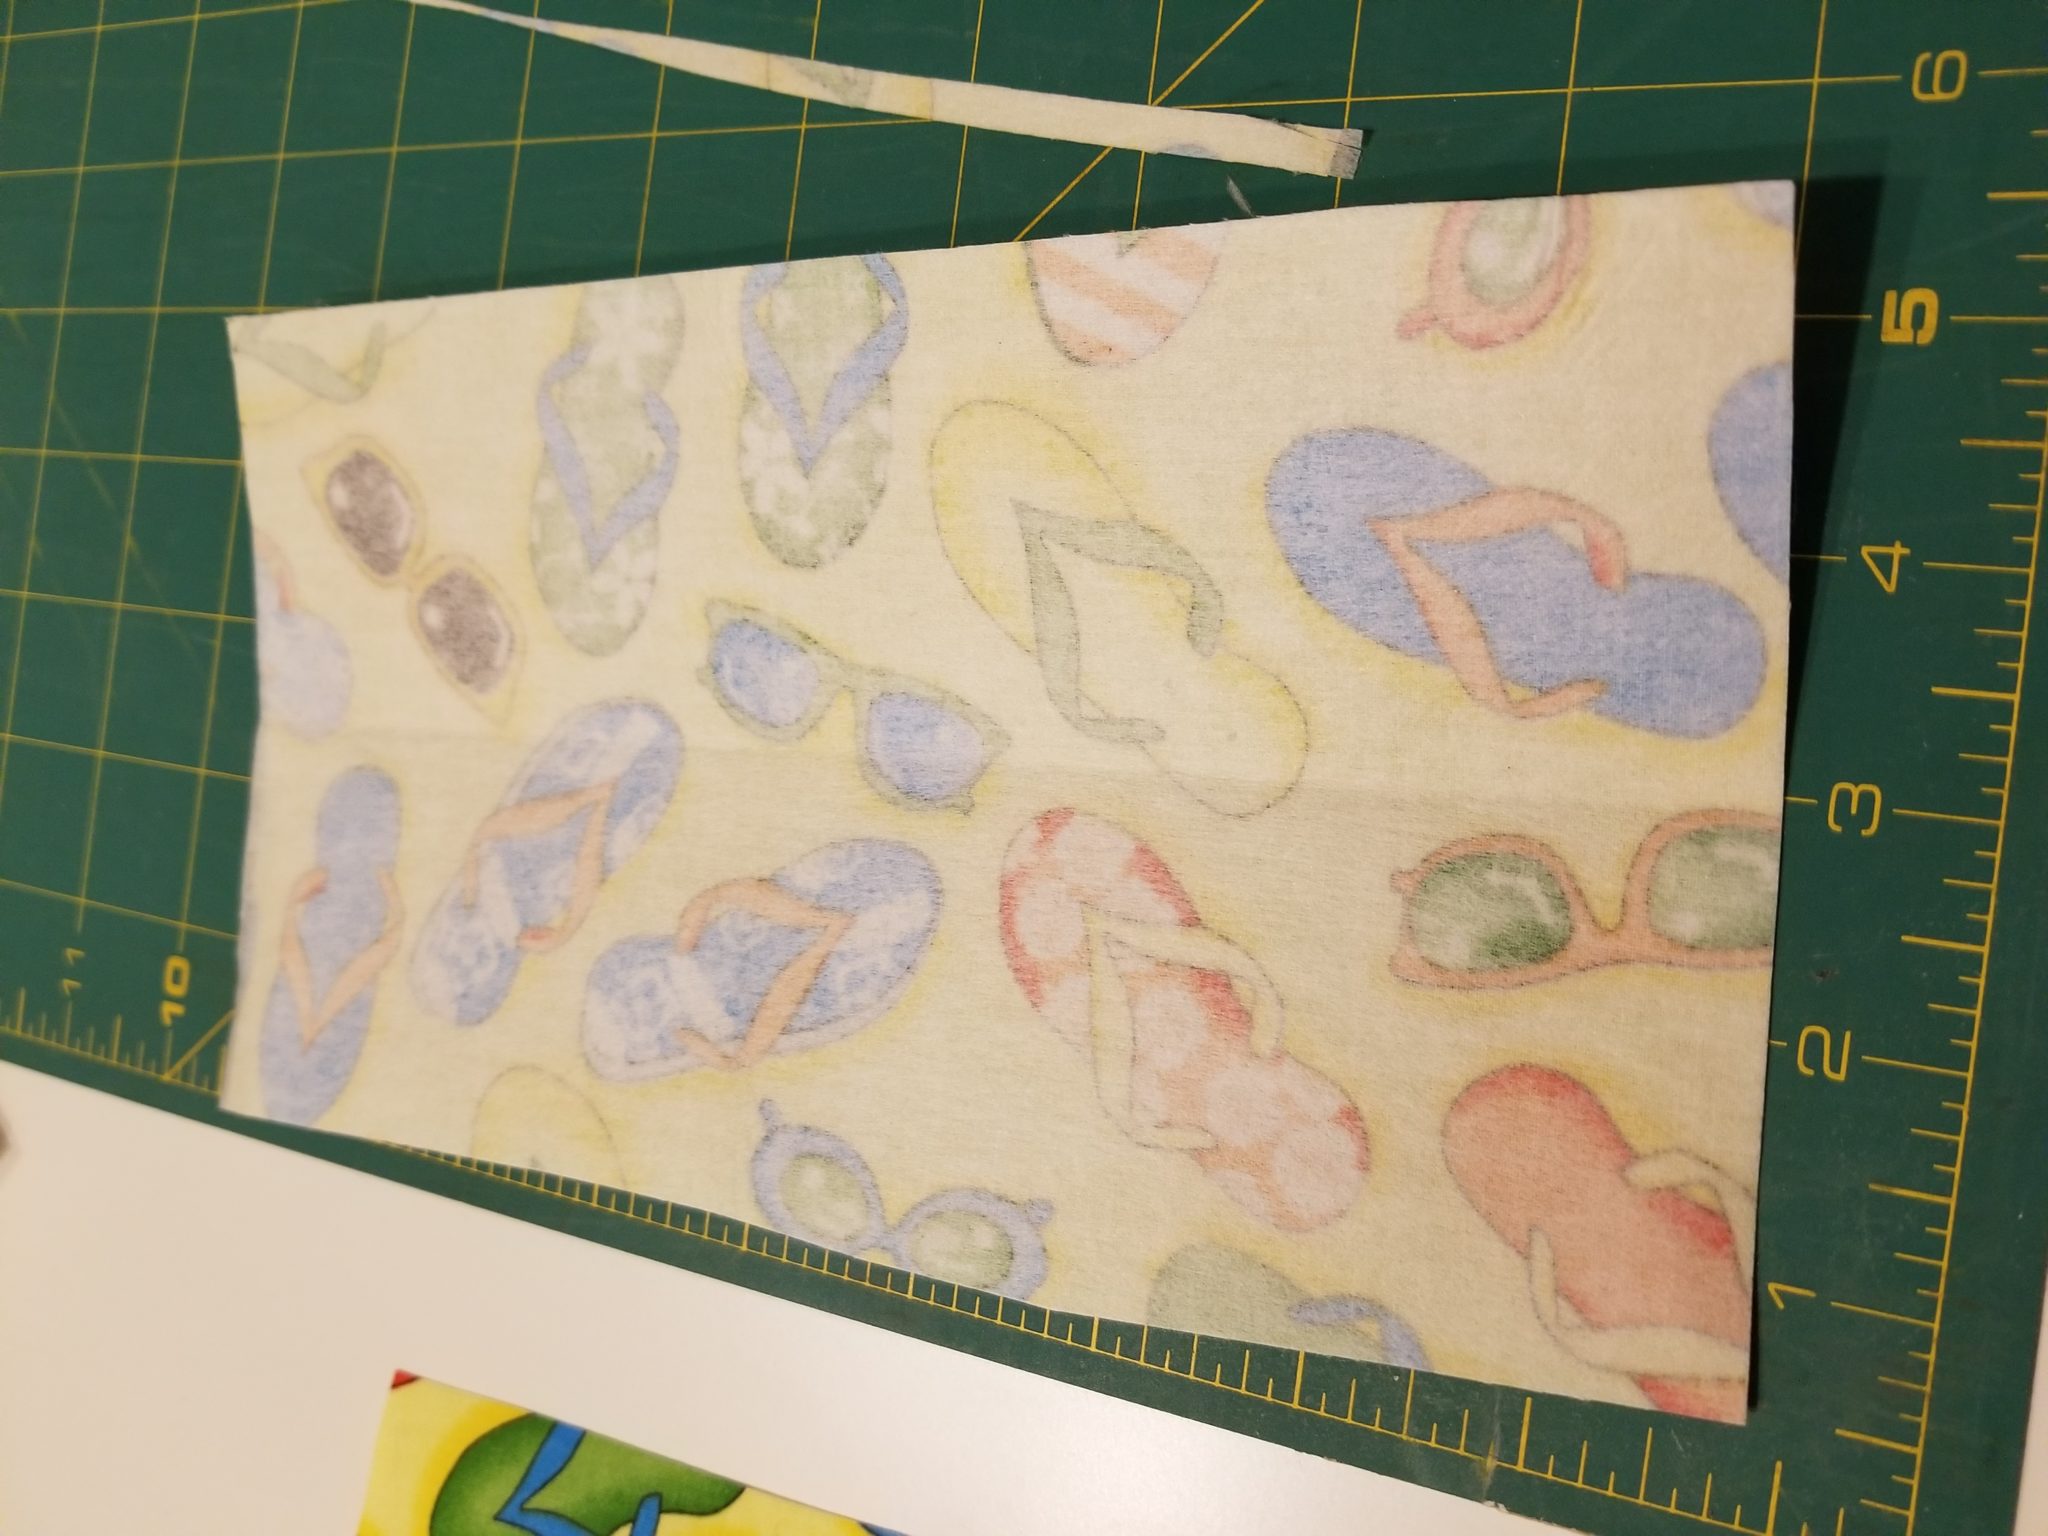
Once you’ve decided the size, iron the thickest interfacing you can find onto the back of the fabric and cut the fabric roughly to double the size of the bookmark in width and one time the size in height. Thus, if you’re wanting a 2.5″ x 9″ bookmark, you want to cut your fabric to be 5″ x 9″. You’ll also only want interfacing ironed to the back of this part of the fabric. I always prefer to iron interfacing onto a large piece of fabric and then cut out my fabric section.
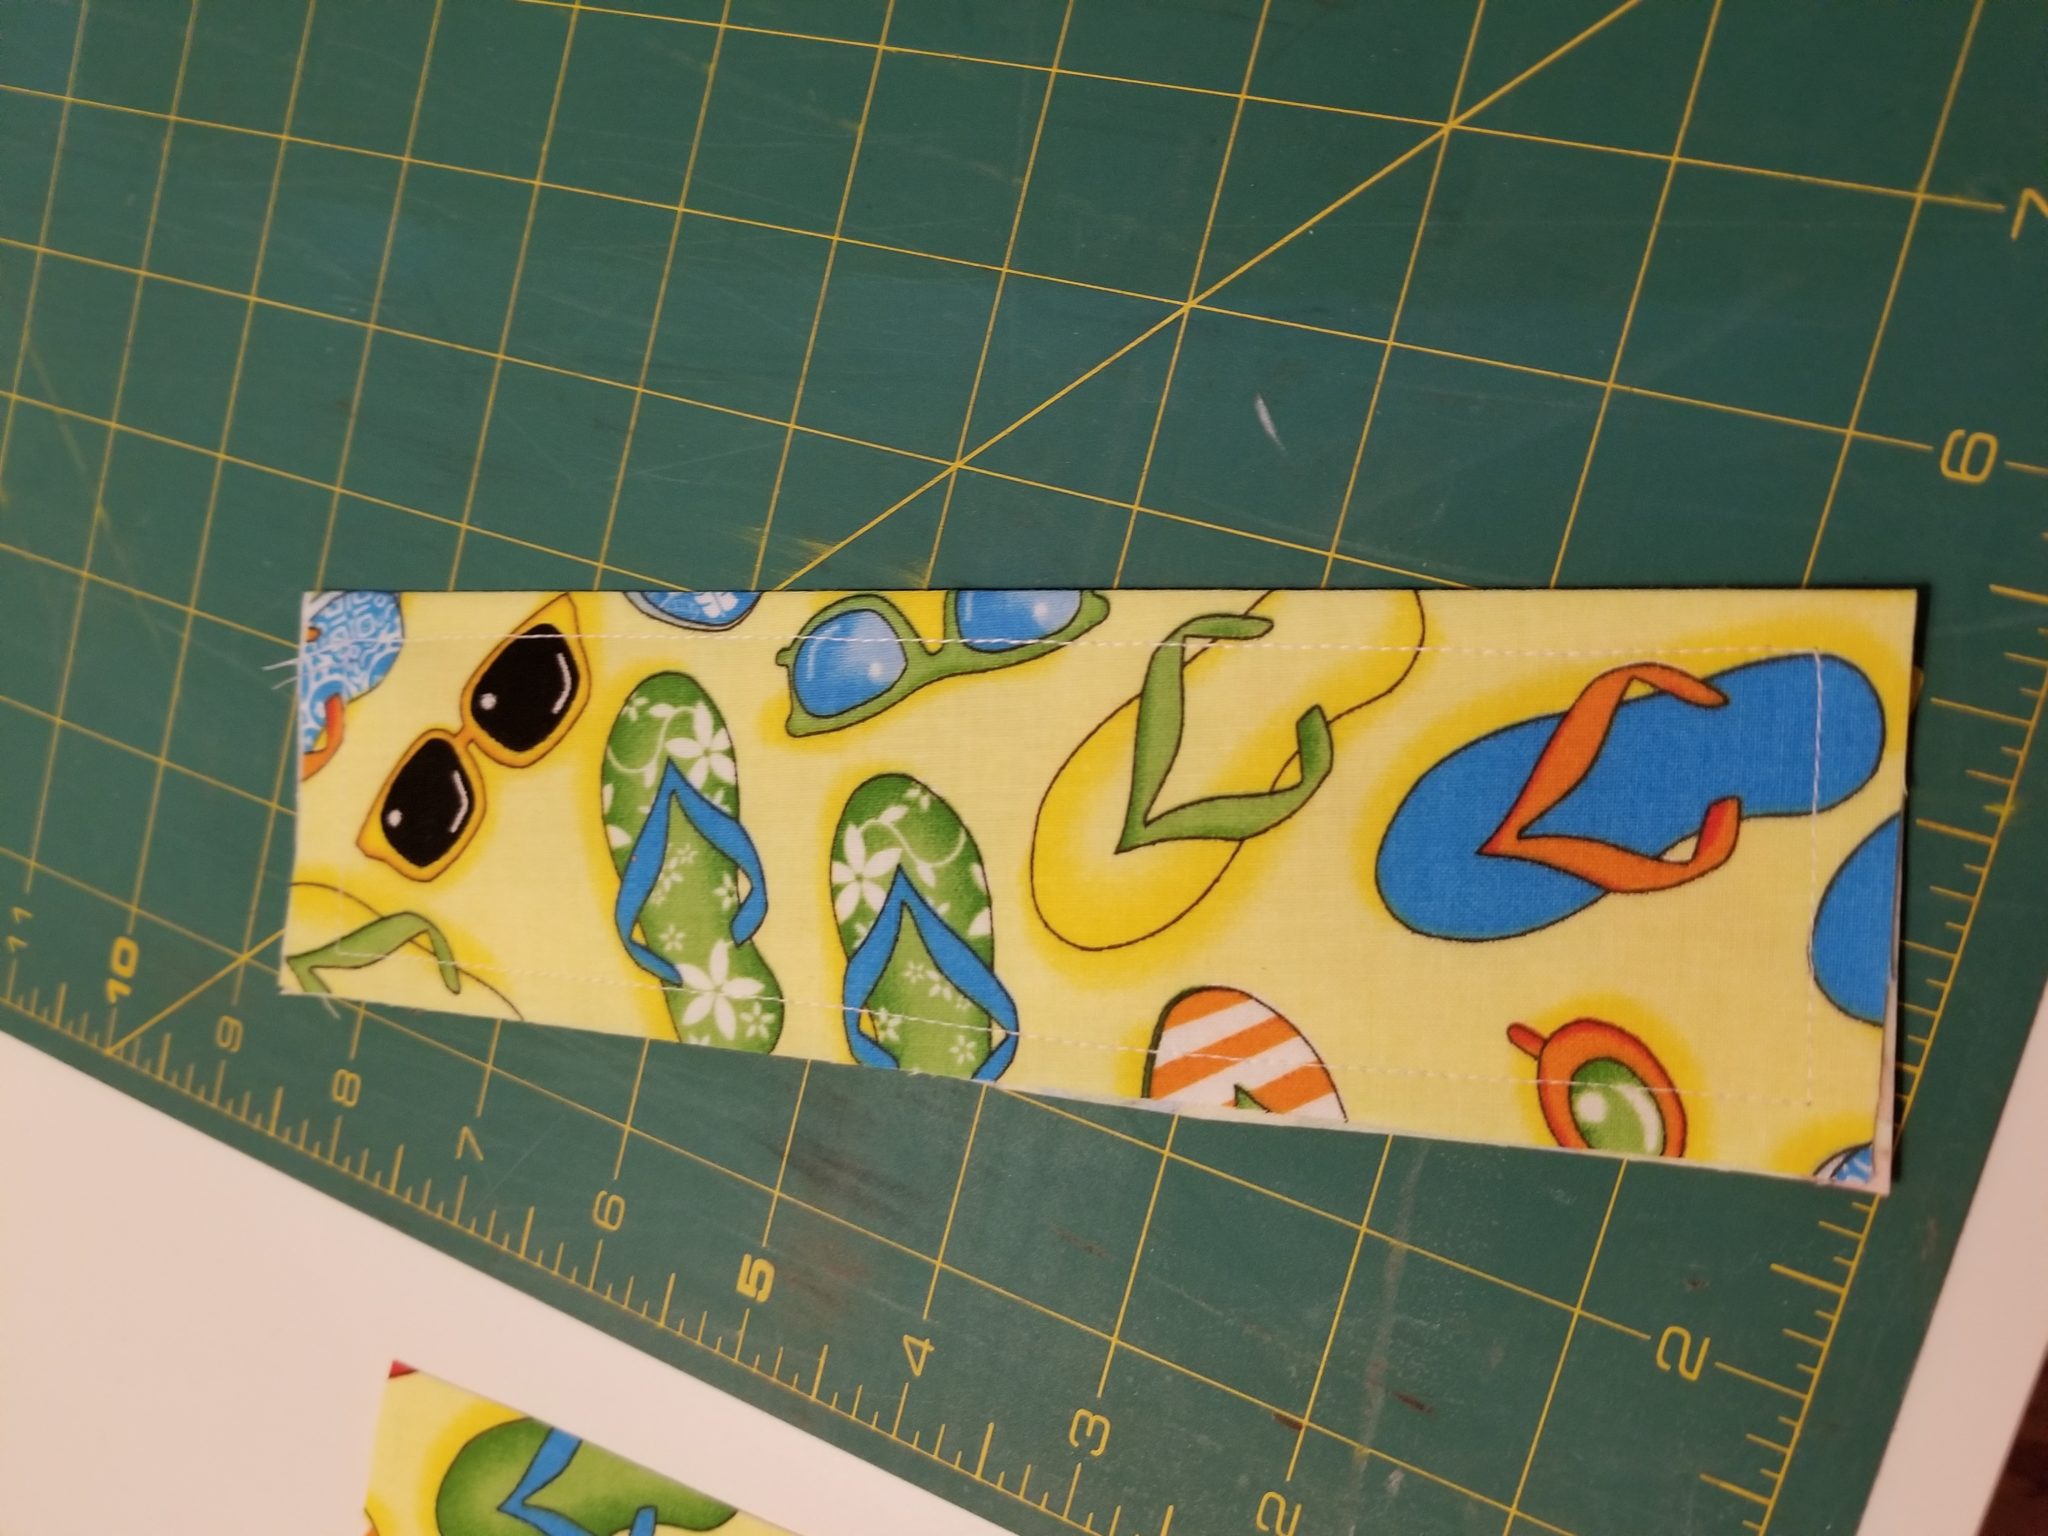
Next, fold the two two interfaced sides together. Right sides will be facing out. I found that it wasn’t necessary to pin to get the sides to stay together, so you can see what works best for your type of interfacing and fabric. Sew around the edges of the bookmark at around a 1/4″-1/2″ seam allowance. Just try to stay consistent on all four sides of the fabric bookmark.
Next, I used pinking shears to trim the edges. This will help deter the fabric from unraveling at the edges.
At this point, for her music teacher’s bookmark, I sewed a small piece of ribbon on the top and used an iron-on pink letter to personalize the bookmark.
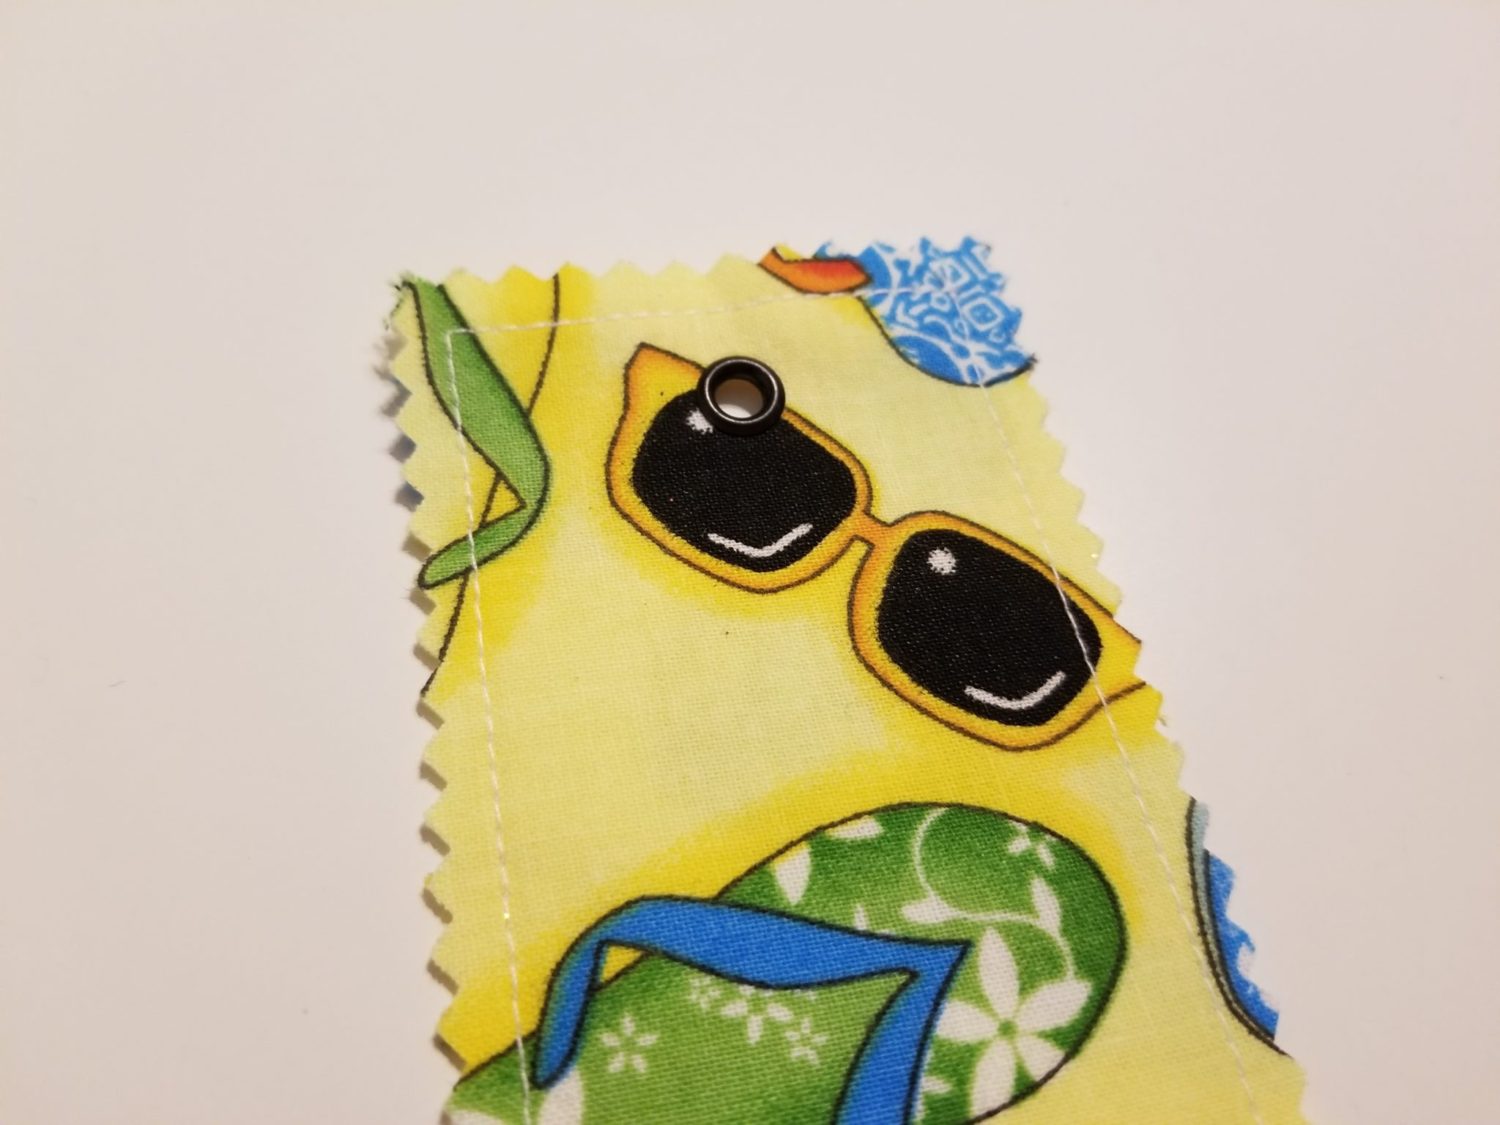
For her main teachers’ bookmarks, I inserted grommets or eyelets in the top of the fabric. This was actually my first time to ever use my eyelet pliers, so I’m so glad it turned out alright! (Here’s the tutorial I followed.)
I then tied off ribbon on the top, and I personalized them with glitter pens.
I probably would have used iron on letters if I hadn’t waited until the last minute to make these gifts…but I had to use whatever I had on hand!
Any other easy ideas you have for crafting end-of-year teacher gifts? With my daughter only being two…I have so many more years of teacher gifts to make!
Interested in crafting and DIY? Check out all our crafting projects!