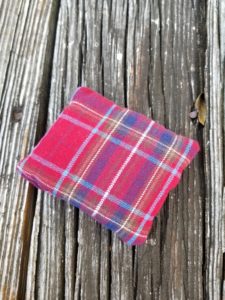
DIY Lavender Sachet – Flannel Shirt Repurpose Project
This post may contain affiliate links, which means I’ll receive a commission if you purchase through my links, at no extra cost to you. Please read full disclosure for more information.
For years, my husband had this very outdated old flannel shirt that he kept wearing. It was way too small and just not attractive. I promised if he got rid of it, I would find some way to memorialize it for him. Thus, I set out to find ways of repurposing his flannel so he could still enjoy it. Just not while wearing it!
My first flannel upcycle project was turning the sleeve cuff into a keychain chapstick holder. Then, I turned one of the sleeves into a DIY drawstring bag. I’m really on a flannel repurposing kick now that the weather’s cooling down and Fall is on the horizon!
This most recent project was repurposing another part of the flannel shirt into this DIY lavender sachet. My husband is a real fan of lavender because he feels it helps him drift off to sleep faster. He wanted this DIY sachet to put under his pillow during the day. At night, he would take the sachet away and flip his pillow to be left with lavender smell.
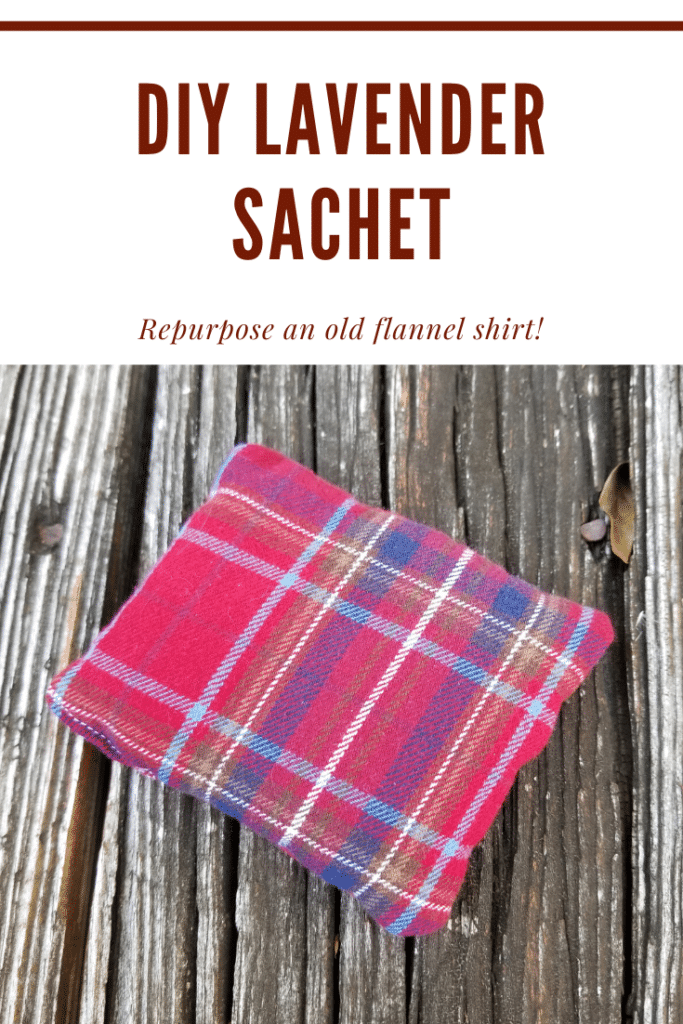
Making this DIY lavender sachet took less than 10 minutes and is easy enough for a beginner sewer to make with or without a sewing machine. So, I want to teach you how to craft your own. I hope this lavender sachet tutorial will bring you as much joy as this sachet has brought my husband!
Materials to Make a Lavender Sachet
- Old flannel shirt, washed and reasonably wrinkle-free
- Sewing machine or needle and thread
- Scissors
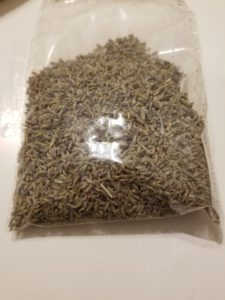
- Lavender (I got mine from the bulk section of Sprouts.)
- Funnel for decreasing mess while pouring the lavender into the sachet
- Wonder clips or pins, if needed
How to Make a Lavender Sachet
First, you’ll want to decide the dimensions of your desired sachet pouch. If you plan to use a shirt sleeve as I did for mine, the dimensions will be limited by the shirt sleeve width. If the sleeve width is too small, you can use another part of the flannel shirt for making your sachet.
I wanted my sachet to roughly be square. The dimensions of my starting squares were around 4.5″ x 4.5″.
You’ll want to cut two pieces of flannel to be the desired size of your sachet. If you’re going to be using a 1/4″ seam allowance, take this into account when cutting. My 4.5″ square sachet pieces ultimately ended up making a 4″ sachet.
Next, place the flannel pieces together with right sides facing each other. I like to clip pieces of fabric together with Clover Wonder clips. With young kids around, I try to avoid pinning projects as much as possible!
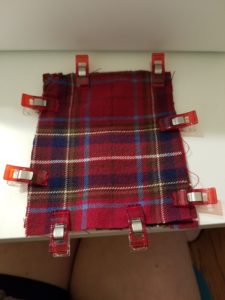
Next, sew with a 1/4″ seam allowance (or whatever size seam allowance you planned for) around the edges. Make sure to leave around a 1.5″-2″ hole in the middle of one side to allow for turning and filling later. (If you want a no-sew lavender sachet, you can use iron-on hem tape for creating the seams.)
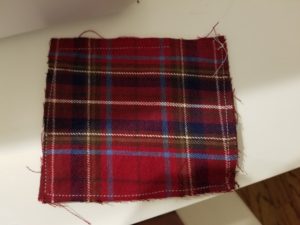
Then, turn your flannel pieces to where the right sides are now facing out. Clip the edges so you’ll have sharper turned points later.
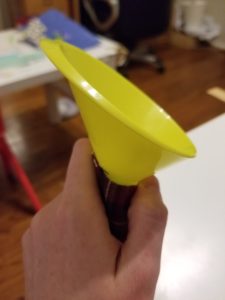
Using a funnel, add the lavender to your DIY flannel sachet casing. Don’t make it too full or you will have a hard time stitching it closed. (As an aside, some of you pumping mommas out there might recognize I’m repurposing an old Kiinde funnel for this project!)
Lastly, sew the hole in the sachet side closed. You can hand sew or turn the edges inside the sachet and edgestitch it closed with your sewing machine. This is what I chose because I hate hand stitching with a passion!
The Final Product!
Once you’ve completed this last step, your DIY lavender sachet is ready for use! Place it under your pillow, gift it, or keep it around the house to provide great scents!
