Upcycle Ties to Make DIY Hair Bow or Bow Tie
This post may contain affiliate links, which means I’ll receive a commission if you purchase through my links, at no extra cost to you. Please read full disclosure for more information.
Today I want to share with you an easy way to upcycle ties to turn an old men’s necktie into a hair bow or bow tie.
This project involves making only one seam and uses items you likely have around the house already (especially if you’re a craft hoarder like me!)

My husband regularly gets food on his ties, so we have a lot of unusable neckties around our house. I absolutely hate throwing things away that I can repurpose. Hence, this project idea! My older daughter also finally has enough hair for cute bows, so this project serves a dual purpose.
Before we get started on this necktie repurpose tutorial, though, check out a few of my previous upcycling projects:
- Old flannel shirt repurpose to keychain chapstick holder
- Flannel shirt upcycle to DIY lavender sachet
- Upcycle a women’s shirt to a toddler dress
- Refashion jean legs into a doll skirt
How to Turn a Necktie Into a Bow Tie or Hair Bow

Here are the supplies you’ll want to gather for this necktie refashion project:
- Old necktie. It needs to be in decent condition in the area you plan to use!
- Sewing machine or needle and thread. There is only one seam needed, so this is an easy project to hand sew.
- Clover wonder clips or pins
- Coordinating thin ribbon
- Hot glue gun
- Bow clips for the base in an appropriate size
How to Sew a DIY Hair Bow
This is super easy to make! I’m not going to be super-detailed with exact measurements, because a lot of them depend on the size of your tie and the size you want your bow. But, here goes.
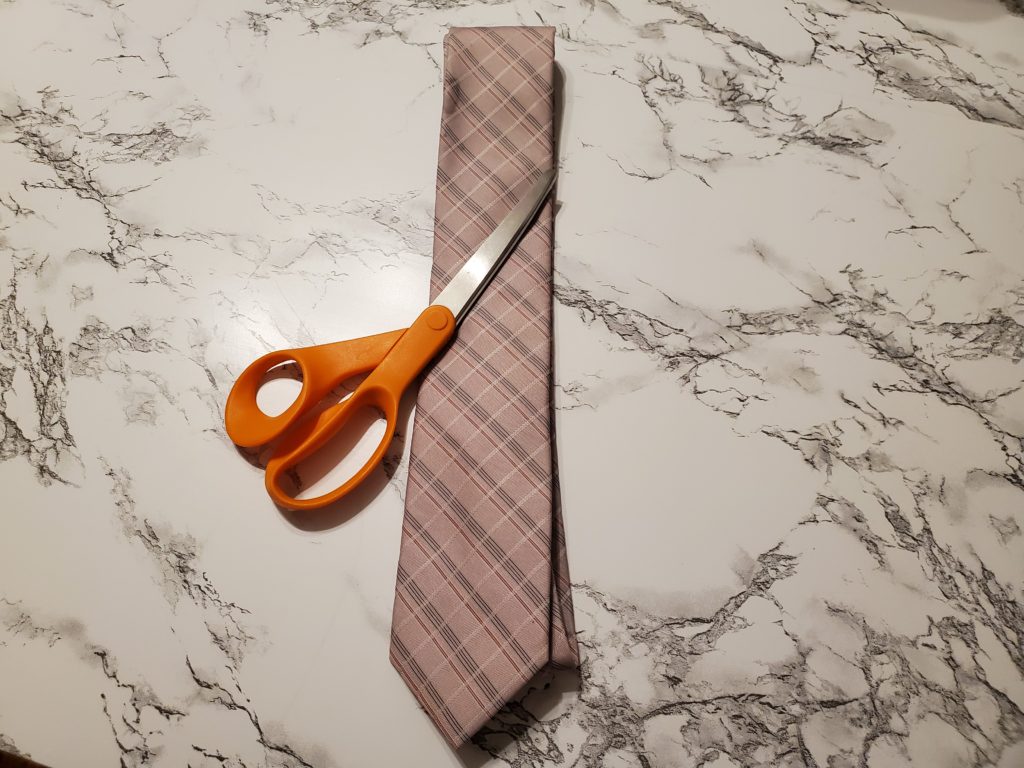
First, cut a length of tie from the bottom of your necktie. Make sure you’re choosing a part of your tie that has two parallel sides. Here’s how to calculate the size you need. Figure out the size of the bow you’ll ultimately want. Then, double the number and add 1/2 inch. (The 1/2 inch assumes a 1/4″ seam allowance.) This will be roughly the length you want to cut. (As you can see below, an alternate way is to fold the necktie to get an estimate of finished size and then add 1/4″ when cutting it folded.) My length of the resulting cut piece was around 4.5 inches when unfolded.

Fold your cut necktie piece over onto itself with the right side facing in. The wrong side of the tie will be facing out. Clip, pin, or hold in place.
Sew the two ends together using a 1/4″ seam allowance. This will effectively make a big circle of fabric. Trim the excess fabric outside the seam to neaten it up and get rid of extra bulk. To prevent fraying, you can use pinking shears.

Turn your project right side out now. Consider pressing your tie if you need to. Then, put the seam in the middle of the back of the circle area. You’ll be scrunching up the middle of the bow, so I found it easiest to hide the seam on the inside back.

Once you’ve scrunched up the bow like above, go ahead and wrap a length of coordinating ribbon around the middle of the bow. At the back, stick in a bow clip as shown in the picture below. Glue it all together. Hot glue works best because it dries fast! Make sure not to glue the bow part closed, though!

Once everything has dried, you have your finished bow! Isn’t it cute? It was a practically free and super easy sewing project. My daughter loves it, and she put it on her bow holder first thing!

I hope you enjoyed this easy project! Any ideas for what to do with the rest of the necktie now?
