Wood Slice Painting DIY- Mint, Salmon, and Gold Girl’s Name for Nursery
This post may contain affiliate links, which means I’ll receive a commission if you purchase through my links, at no extra cost to you. Please read full disclosure for more information.
I’ve been seeing wood slice decorations everywhere and have been loving them! For my baby shower with my first, my husband’s office made a wood slice owl decoration for him. After he moved jobs, we decided to reuse the other side of the wood slice for our second daughter’s room! I want to share this wood slice painting DIY project today!
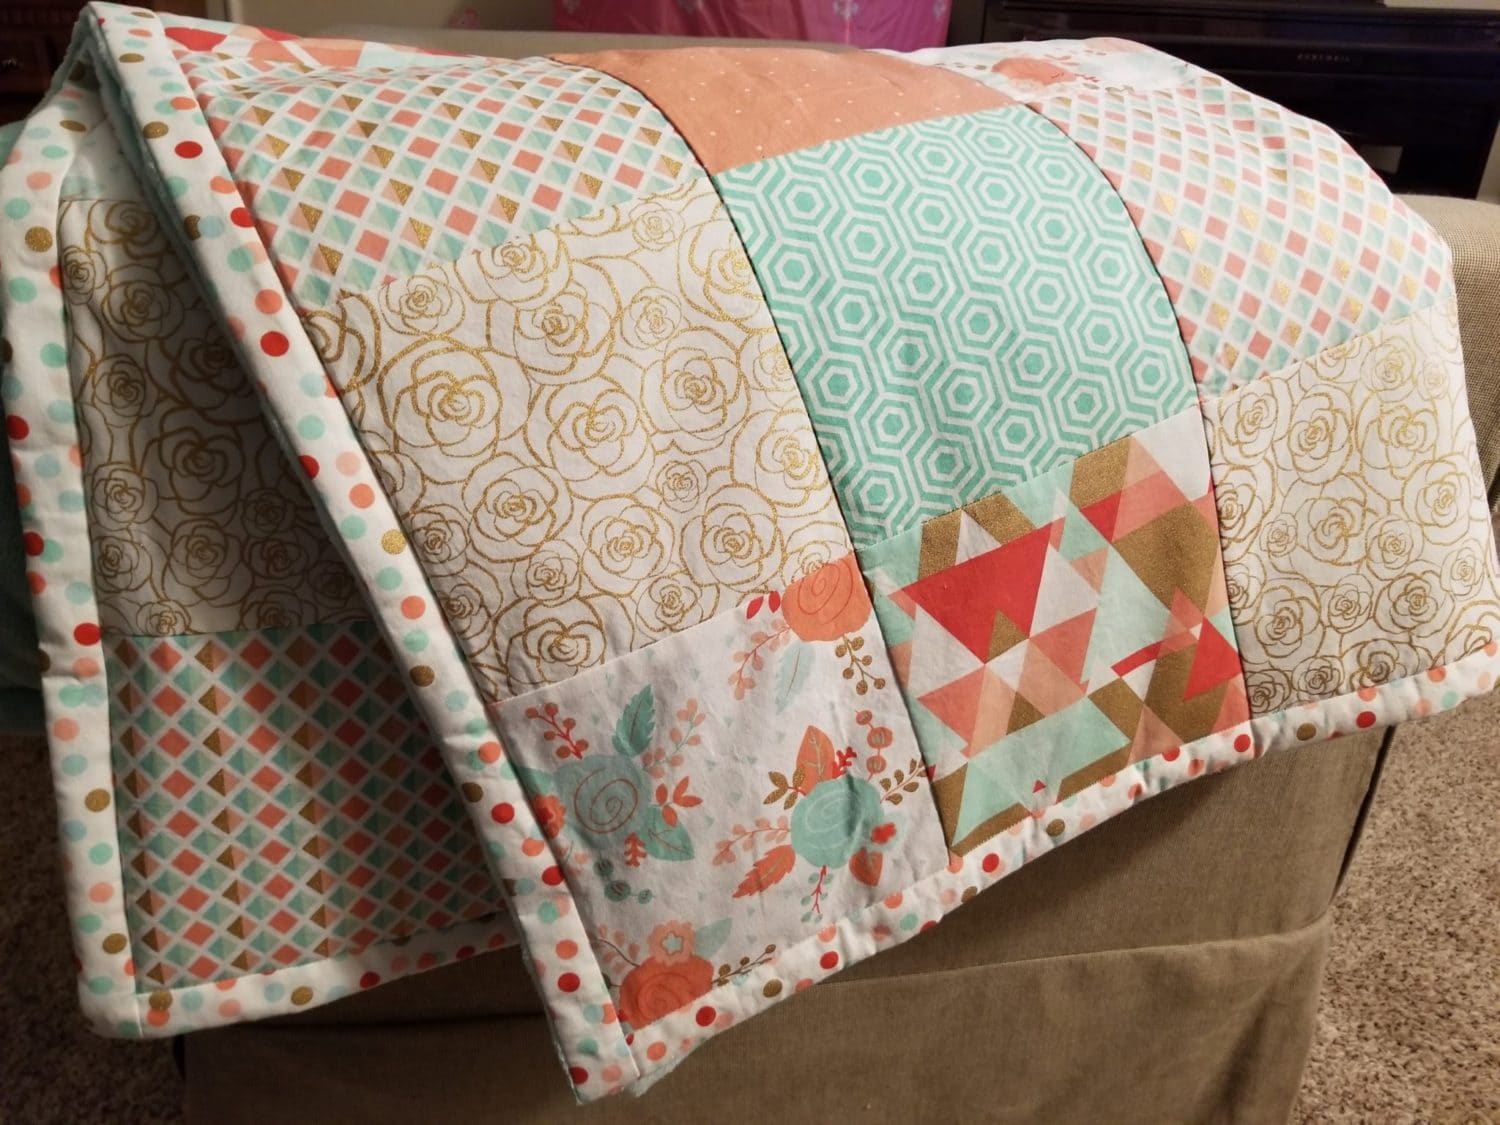
We have a mint green, salmon, gold, and some teal and pink color scheme going on. So far, everything is coming together really nicely! I made a fun fabric garland and then got to painting the wood slice to go with that. Here’s the quilt with the main colors of the nursery. Also a part of the room was this super cute dresser and wall clings.
I started with an off-white parchment color for the base of the wood. I did 2 coats, and that took care of it. Then, I used stencils I got from Walmart to paint flowers on the top and bottom of the wood slice. I am so NOT an artist, so the stencils were very convenient! I also did 2 coats with the mint and salmon paints.

Lastly, I finished up with a layer of varnish so it would look glossy and the paint wouldn’t chip.

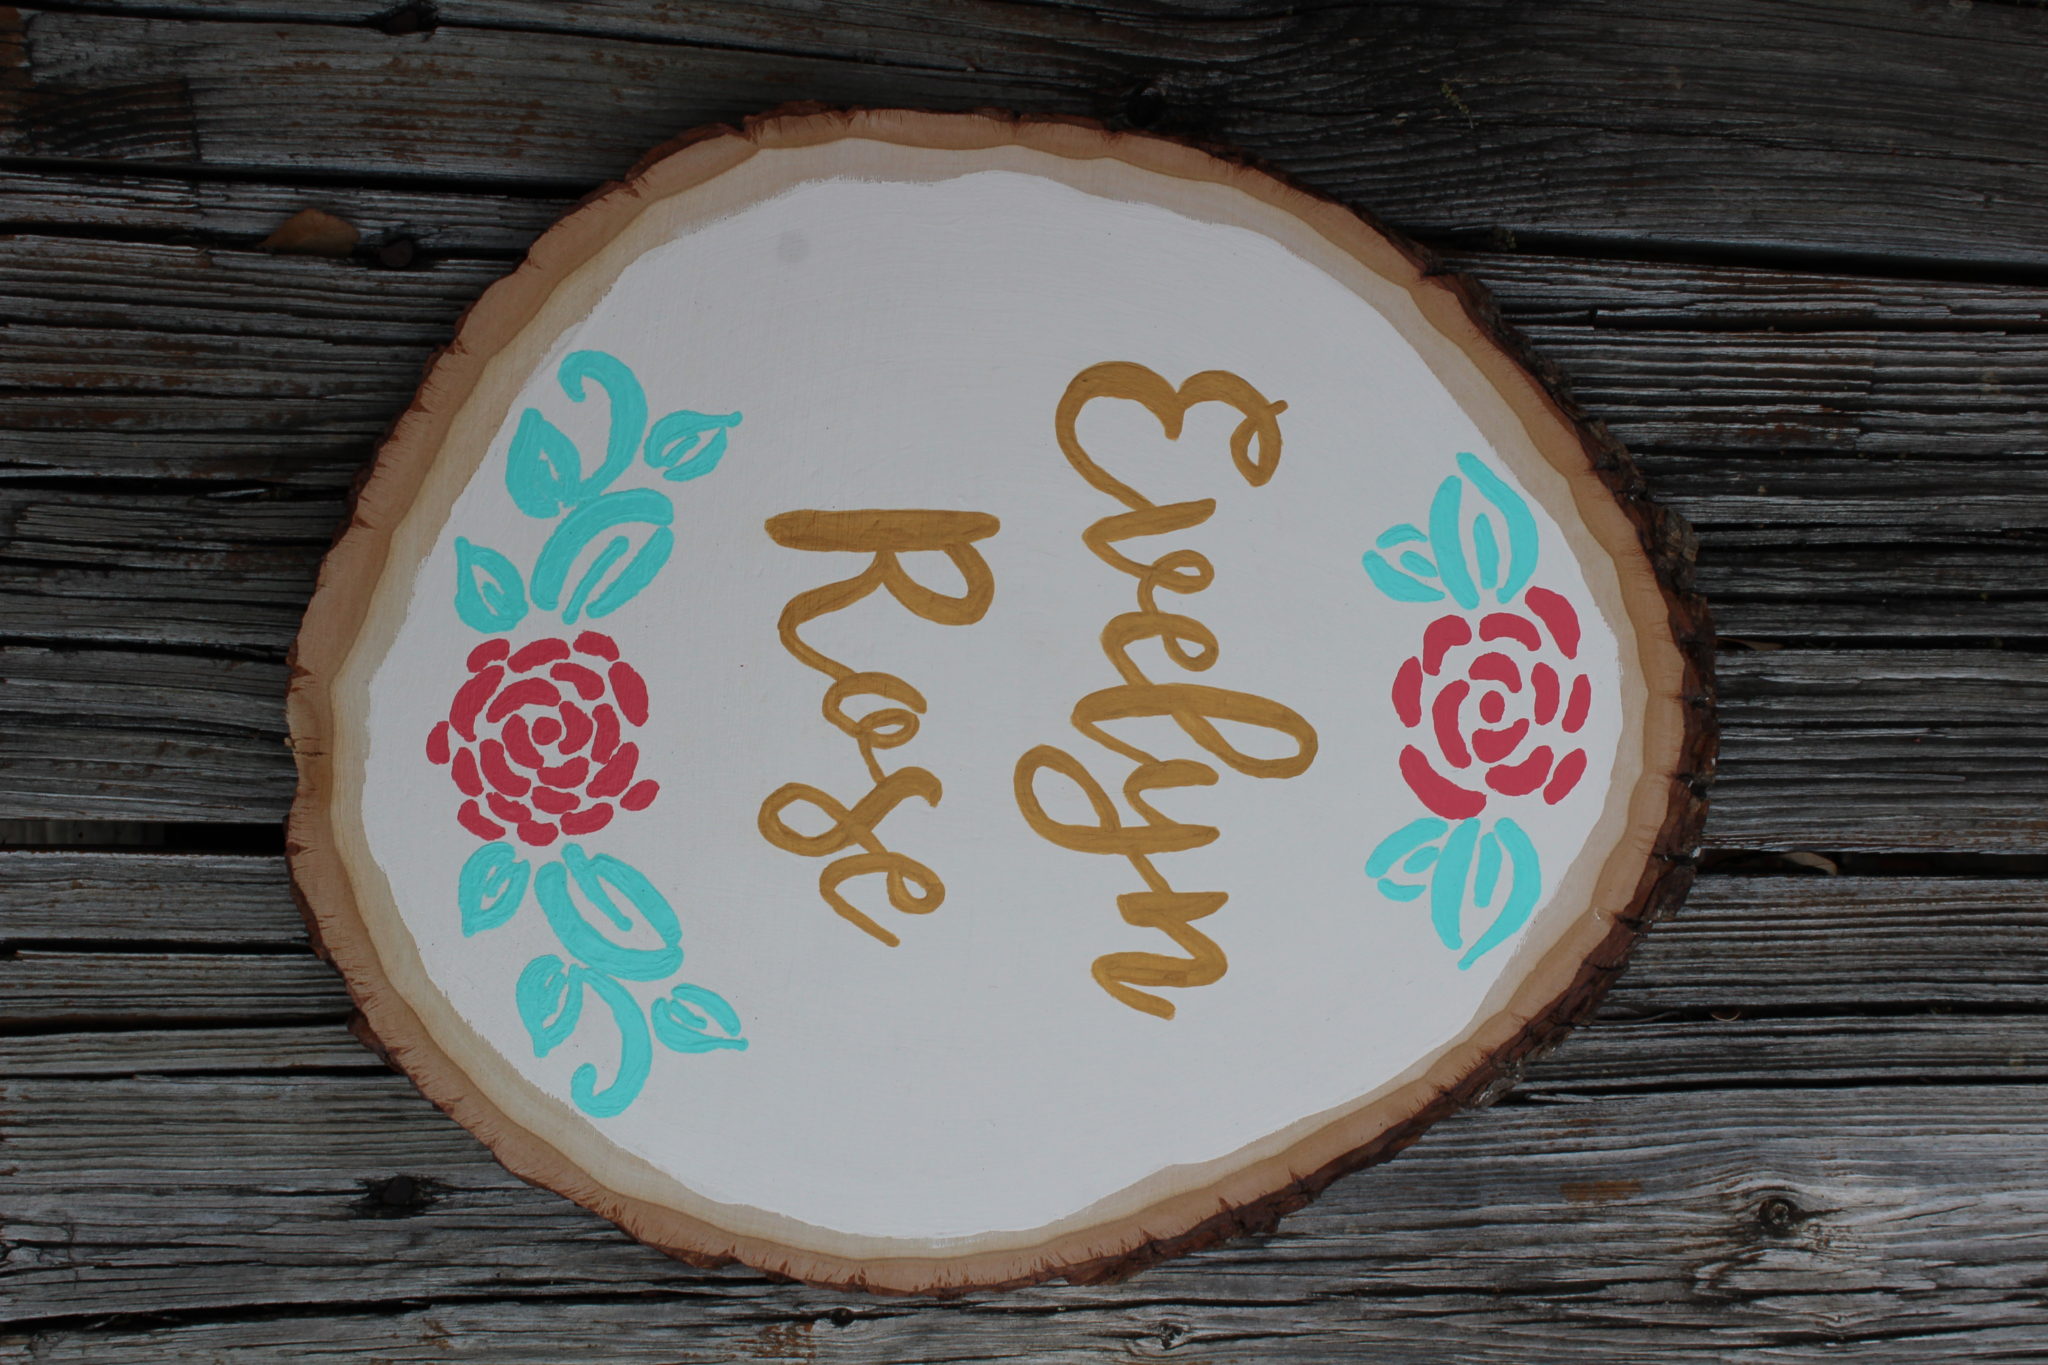
Once I get the fabric garland totally finished, I plan to hang it all up on the wall. I’m excited to continue adding to Evelyn’s nursery! We’re nearing the finish line soon and can’t wait to see the finished product.
Like crafts & DIY? Check out more of our posts here!