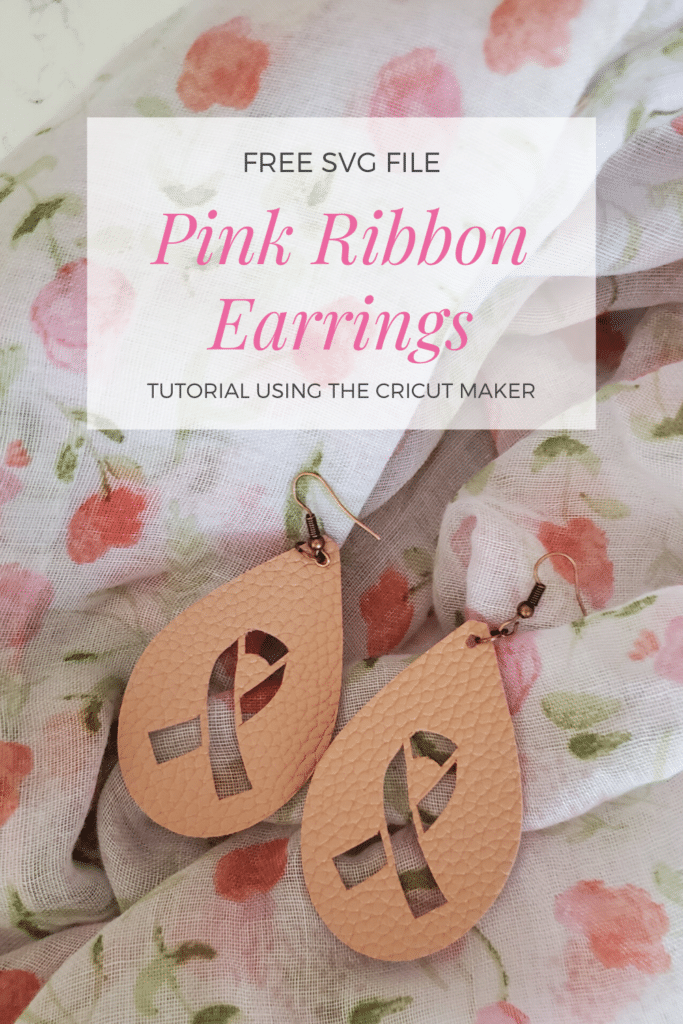
Pink Ribbon Faux Leather Earrings SVG – Breast Cancer Cricut Craft
This post may contain affiliate links, which means I’ll receive a commission if you purchase through my links, at no extra cost to you. Please read full disclosure for more information.
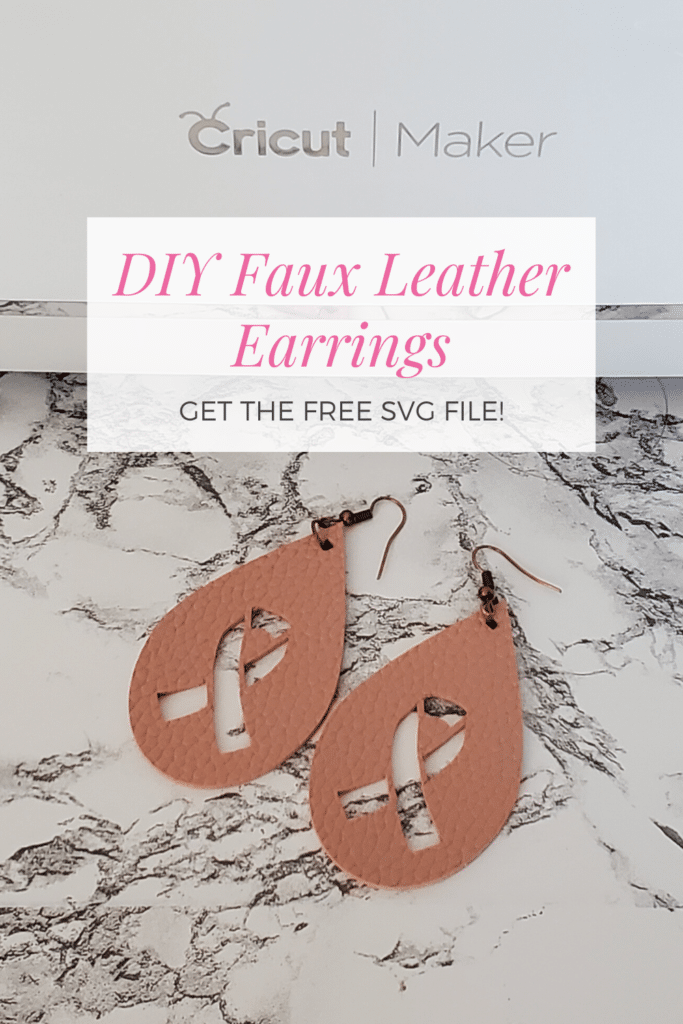
My mom’s a triple breast cancer survivor, so we wholeheartedly support breast cancer awareness and research in my household. For Mother’s Day this year, I’m making mt mom these DIY breast cancer leather earrings. I’m even including a free pink ribbon earring SVG at the bottom of this post for those of you wanting to make your own!
I used my super awesome Cricut Maker to cut this design, but, of course, you can use a different cutting machine. I hope you enjoy making these faux leather earrings and find someone to gift them to who is a breast cancer survivor or patient!
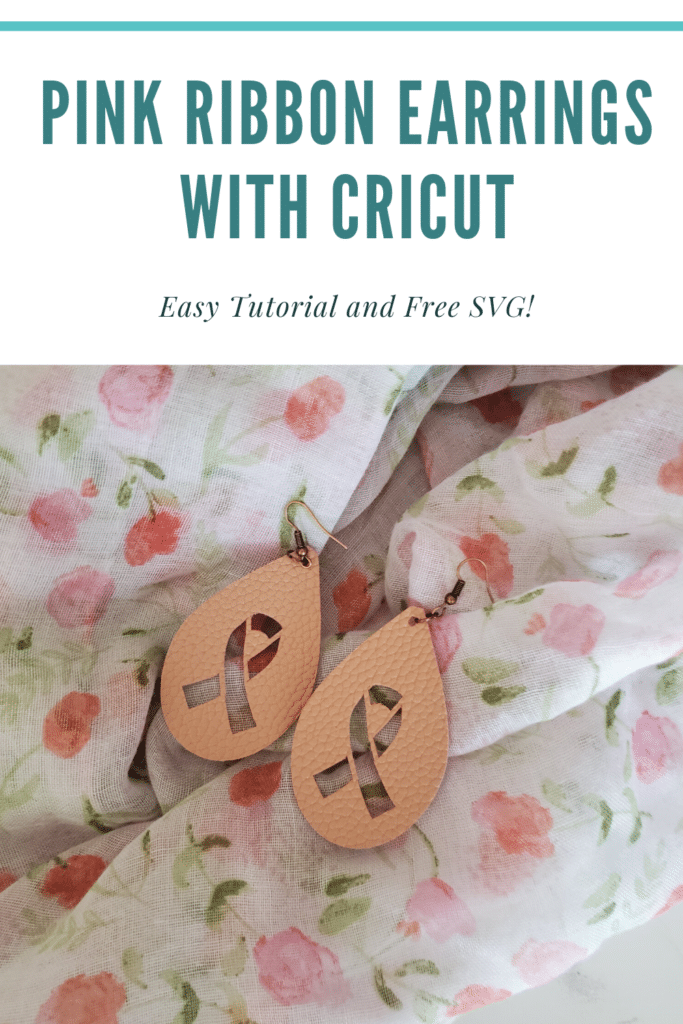
Pink Ribbon Earring Materials
- Faux leather (mine was pale pink and double-sided faux leather; it came from this exact box on Amazon.)
- Cricut and corresponding blade (I used my Cricut Maker, but you should be able to use any Cricut or die-cutting machine)
- Earring hooks and jump rings plus jewelry pliers (these came in that kit I mentioned above but you can buy them separately too.)
- Cricut tool set to remove earrings from mat
How to Use this Breast Cancer SVG
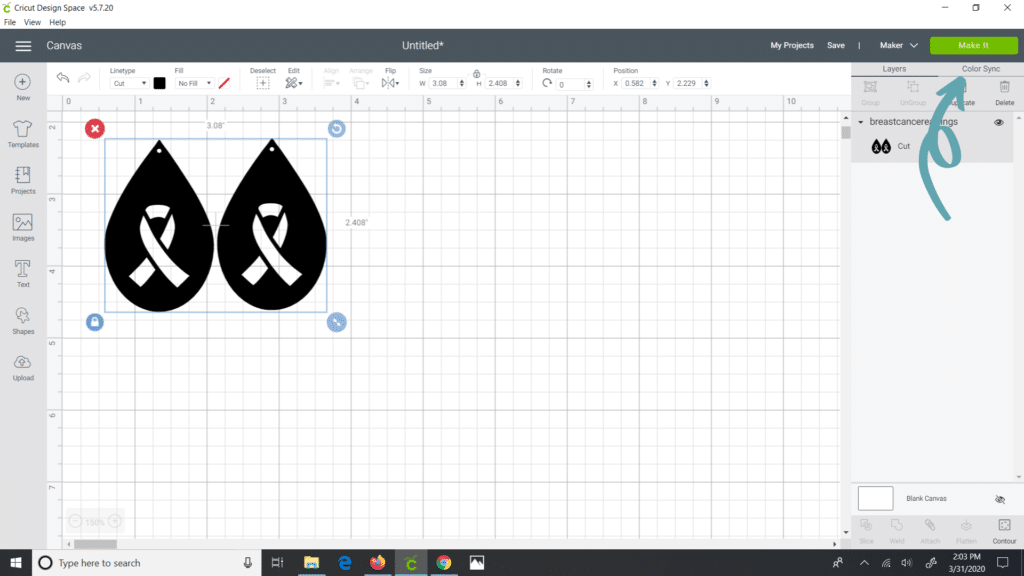
Once you download this SVG (grab it at the end of the post), you’ll want to upload it to Design Space. I have a simple tutorial for how to upload an SVG file to Cricut Design Space if you need that.
The pink ribbon earring design will now appear on your canvas. Here, you can size the earrings as desired using this pink ribbon SVG. The size of each of my earrings was roughly 1.5″ wide and 2.5″ tall.
Next, click on Make It in the upper right corner.
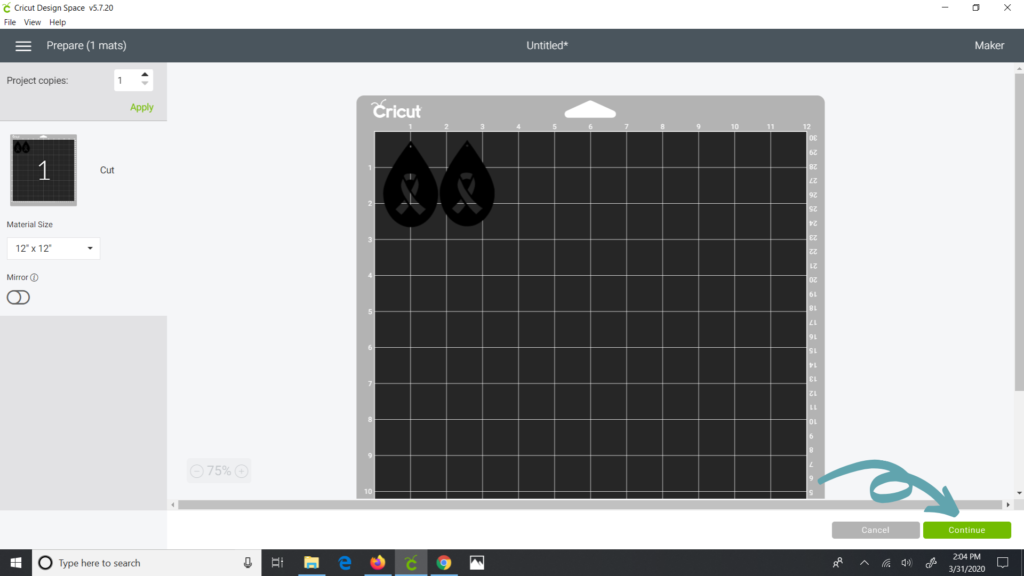
This will lay the design out on your Cricut cutting mat and show you where to place your faux leather on the mat. If you are planning to use the faux leather setting, make sure to place the faux leather shiny side (face side) down. Click Continue on the bottom right corner once you’re done.
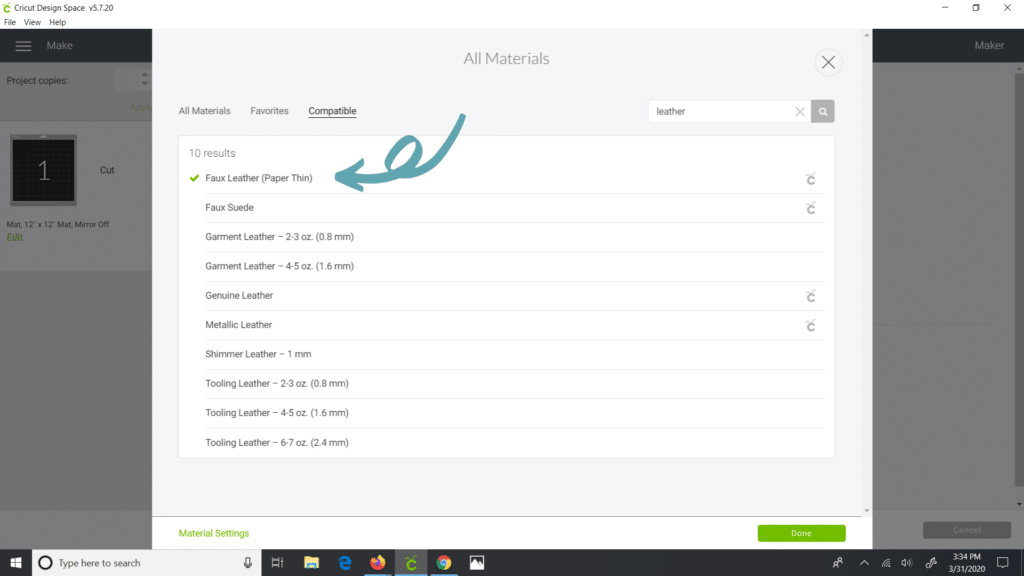
Next, set your material. I used the paper-thin faux leather setting, which has me using my premium fine point blade. If you have a thicker leather you are using, you may need to switch to the knife blade. With the knife blade, the corners where the pink ribbon parts meet may not be as clean-cut, but you should still be able to make beautiful pink ribbon earrings! (This is a screenshot for my Maker. You may have a slightly different way of setting materials with a different Cricut machine.)
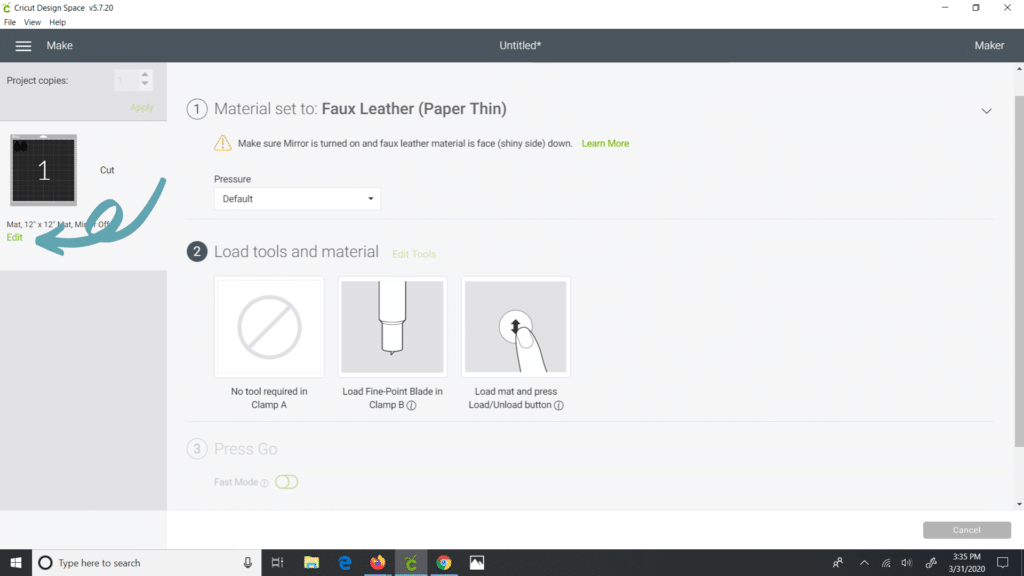
Then, turn the mirror on. You can do this by clicking Edit under the mat on the left side of the screen and toggling the mirror circle to the right where it shines green.
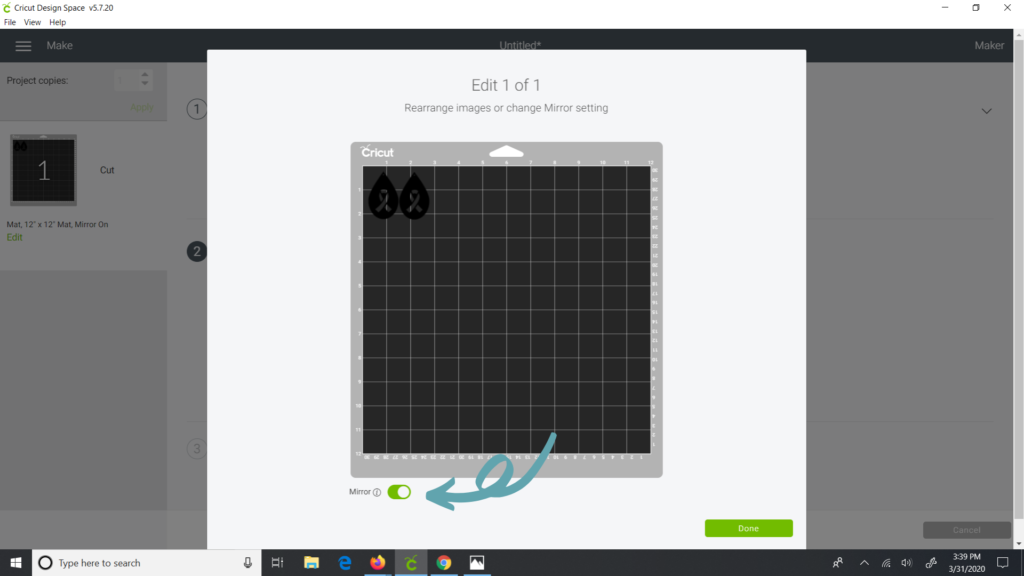
Click Done to return back to your previous screen. (Since these earrings are fairly symmetric with the exception of the ribbon cross, you don’t have to mirror if you don’t want to. Also, you can mirror before setting the material, but I never can remember until it reminds me!)
Load your blade and mat. Then, press go. (This is the Cricut C logo.) Your machine will start cutting and be done pretty quickly.
Once your earrings have been cut, use your Cricut tools to gently remove them from the mat. Assemble the earrings by adding a hook and jump ring. All done!
Free Pink Ribbon Earring SVG
Grab my free SVG breast cancer teardrop earring file here. To get rid of any confusion, this file is for personal, not commercial, use.
Also, please let me know if you have any questions regarding this tutorial. Enjoy!
